Sew Smarter, Not Harder: Game-Changing Sewing Hacks You’ll Love
Last Updated on 09/18/2025 by Nell Marie
Ready to level up your sewing routine without adding more stress to your craft table? Whether you’re a weekend stitcher, a late-night DIYer, or someone just trying to finish a project before the kids wake up, these sewing hacks are about to be your new besties.
More to read:
Pin for later
Affiliate links may be used in this post and if so I will receive a commission at no extra cost. I’m also part of the Amazon Affiliate (Associate) program where I earn a commission from sales made through my affiliate links. Read the full disclosure policy.
Think of them as tiny tricks with major impact—saving you time, preventing messes, and making your whole sewing vibe way smoother.
From cutting corners (the smart kind!) to organizing your thread stash like a pro, I’ve rounded up my absolute favorite sewing shortcuts, tools, and genius workarounds. You don’t need to be a pro to sew like one—you just need the right hacks.
Let’s jump in and make your sewing life a whole lot easier (and honestly, way more fun).
Time-Saving Hacks You’ll Thank Yourself For
Let’s be real—sewing is fun, but the prep can be a total time suck. If you’ve ever spent 20 minutes untangling thread or pinning the same seam three times, this one’s for you. These time-saving hacks will help you get from “idea” to “finished project” without the stress spiral.
Magnetic Pin Holder = Instant Time Saver
Ditch the fabric pincushion and use a magnetic bowl (or even a magnetic bracelet!) to keep your pins in place—and off the floor. Total game changer if you’ve ever stepped on one. Bonus tip: Check the hardware store for cheap magnetic trays—they’re meant for screws but perfect for sewing supplies!

Chain Piecing for the Win
If you’re sewing lots of small pieces (like in quilting), don’t stop and snip between each one. Just keep feeding them through your machine in one long chain, then cut them apart after. It’s fast, efficient, and oddly satisfying.
Skip the Pins, Use Clips or Glue
Wonder clips are your best friend when working with bulky fabrics or layers. And for hems or quick fixes? Fabric glue can save the day. No more pokey fingers or lost pins.

Mark Seam Allowances with Washi Tape
Stick a strip of washi tape (or painter’s tape) on your machine to guide your fabric and keep your seams straight. You’ll wonder how you ever sewed without it.

These little changes may seem small, but together they can cut your sewing time way down—and leave you with more time to admire your finished masterpiece (or binge a cozy show while you stitch).
Cutting & Measuring Hacks That Actually Work
Let’s talk cutting and measuring—the part where most of us either shine or completely spiral. If you’ve ever sliced fabric just a liiiittle too short (ouch), or spent way too long trying to line up a pattern piece—these hacks will save your sanity and your fabric stash.
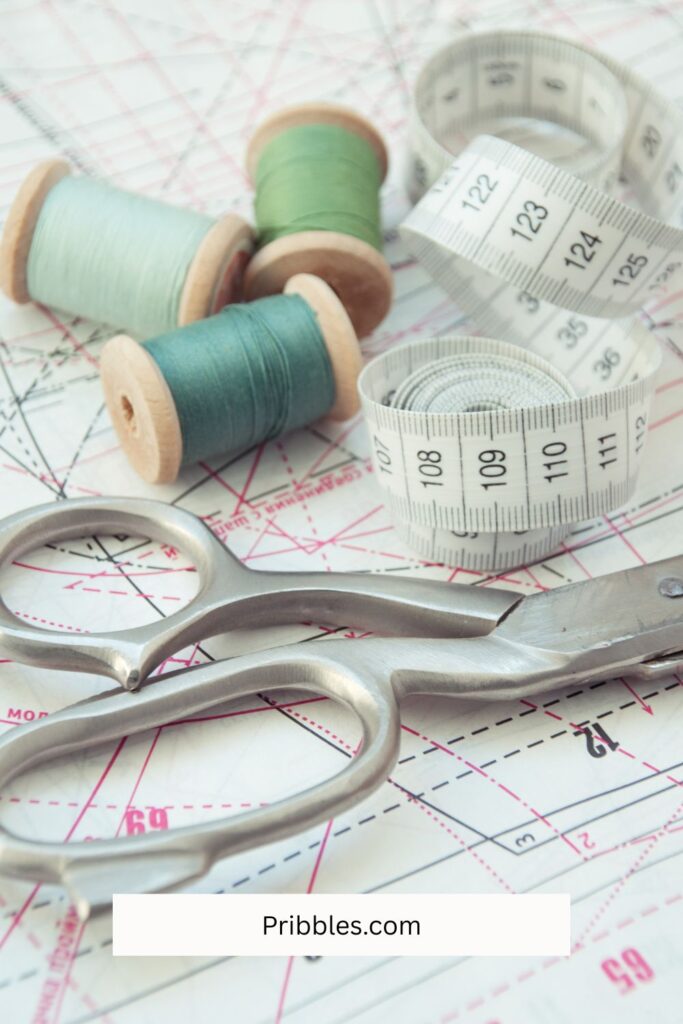
Use a Rotary Cutter for Speed and Precision
Ditch the scissors for a rotary cutter, especially when working with straight lines or multiple layers. Pair it with a clear ruler and cutting mat, and you’ll feel like an absolute pro. Pro Tip: Keep that blade sharp—dull cutters = frayed edges and frustration.

Make a DIY Travel Cutting Mat
Cut down an old cutting mat to fit in your tote or sewing kit for on-the-go crafting. Perfect for sewing retreats, craft nights, or stitching in the carpool line.

Trace with Freezer Paper for Accuracy
Iron freezer paper onto your fabric, trace your pattern, then cut right through both. No shifting, no slipping—just clean lines and smooth curves. Bonus: You can reuse the same piece of freezer paper several times.
Mark Fabric with Soap Slivers or Frixion Pens
Don’t waste money on fancy chalks. A leftover sliver of white soap works beautifully on dark fabrics. For light fabric, grab a Frixion pen—the ink disappears with heat when you iron it.

With these tools in your belt (or sewing drawer), you’ll spend less time measuring twice and more time actually sewing—and loving the results.
Fabric & Thread Fixes You’ll Want to Remember
Thread tangles, bobbin chaos, and fabric that just won’t behave? Been there. But don’t worry—these clever little fixes will help you keep things smooth, snappy, and way less stressful. Say goodbye to sewing meltdowns and hello to “I’ve totally got this” energy.
Stop Thread Tangles with a Dab of Clear Nail Polish
When you cut a thread and it starts to fray or unravel, a teeny dot of clear nail polish on the tip seals it right up. Especially helpful with embroidery floss or delicate threads. Bonus: Works great for knot-prone hand sewing projects, too.
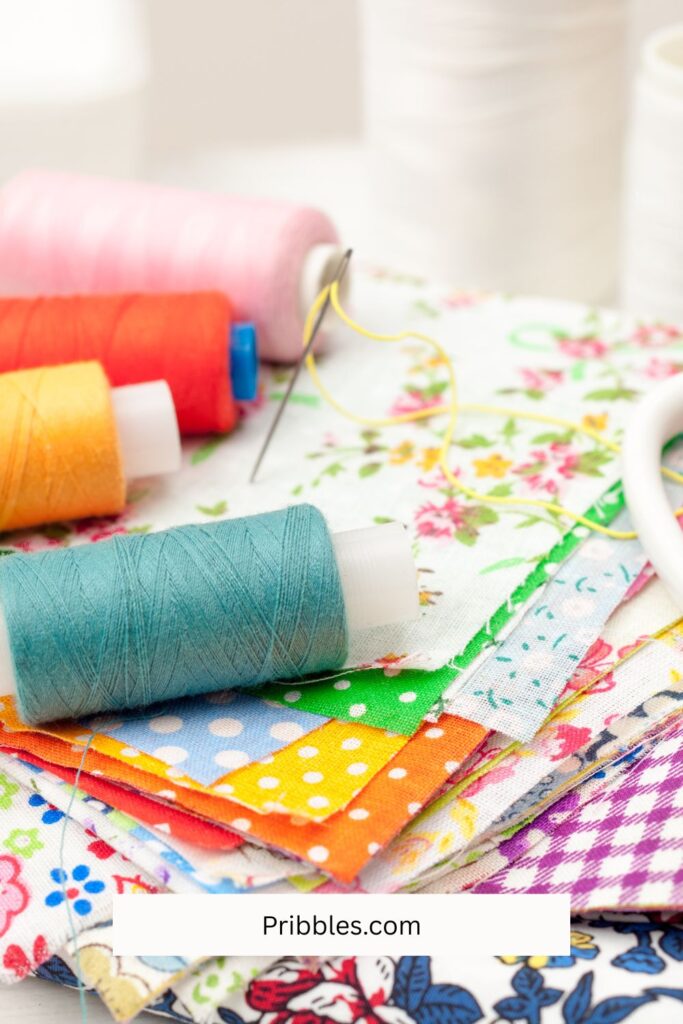
Pre-Wind Bobbins in Your Favorite Colors
If you always reach for white, black, or beige thread, wind several bobbins at once so you’re not constantly stopping mid-project to refill. It’s a small step that saves so much time later.
Keep Bobbins + Spools Together with a Straw Hack
Slide a bobbin onto a drinking straw and stick it right into the center of its matching thread spool. Now you’ll never dig through your drawer wondering which bobbin goes with which thread again. Pro Tip: You can also use mini hair elastics to secure bobbins that like to unwind.
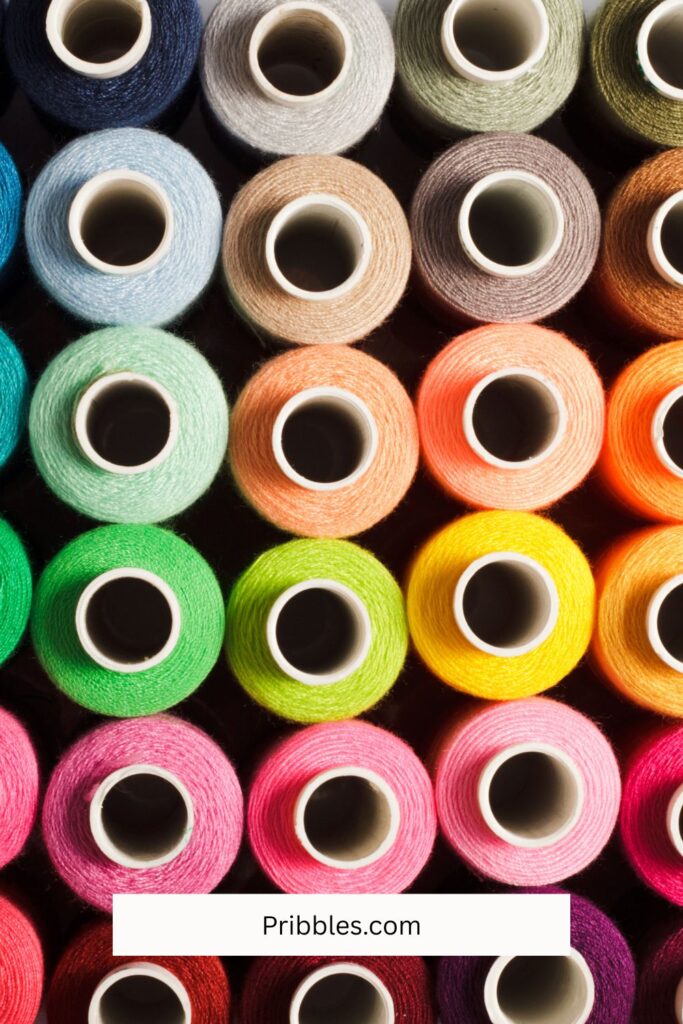
Tame Your Thread Stash with Tackle Boxes or Bobbin Organizers
Clear plastic tackle boxes (from the craft or fishing aisle) are perfect for storing bobbins and small thread spools. You’ll be able to see everything at a glance—and maybe even color code if you’re feeling fancy.
When your materials are in check, your whole sewing session just flows. These little thread and fabric hacks will help you feel more organized, confident, and ready to take on your next project—tangles not invited.
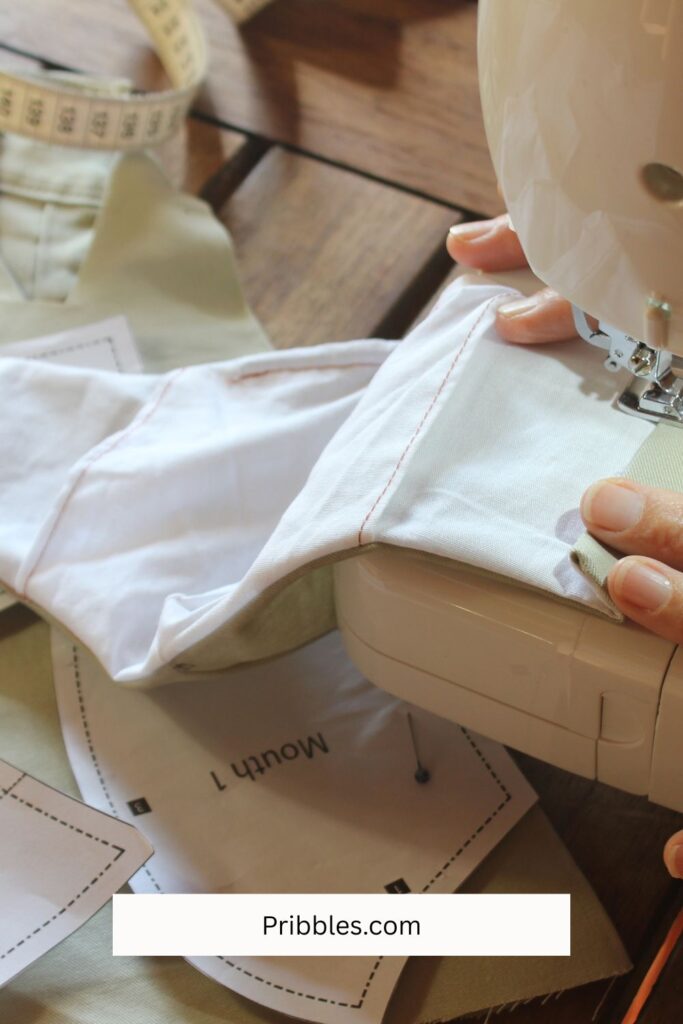
Pressing & Finishing Touches That Look Pro
Want your handmade projects to look next-level polished? It’s all in the pressing and finishing, friend. These hacks might be the “extra” steps we tend to skip—but trust me, they’re the secret sauce that takes your sewing from homemade to handcrafted perfection.
Use a Flat Iron for Quick Seam Pressing
Don’t feel like busting out the big iron? A hair straightener works wonders for pressing seams, tiny hems, or ironing ribbon. It’s especially handy for sewing in small spaces or on-the-go projects. Bonus: Keep one just for sewing so it stays clean and fabric-safe!
DIY Wrinkle Release Spray (with a Lavender Twist)
Fill a small spray bottle with water and a couple drops of lavender essential oil. Spritz lightly on wrinkled fabric before pressing for a smooth, fresh finish—plus, your project will smell amazing.
Make a Cardboard Hem Guide
Cut strips of cardboard (like cereal box cardboard) in different widths—½”, 1″, 1.5″—and use them to fold consistent hems without measuring every time. Slide it under the fabric, fold, press, and boom—perfect hems in seconds.
Press Seams Open for a Cleaner Look
It’s a little extra effort, but pressing seams open (instead of to the side) helps garments and bags lay flatter and look more professional. Just use a tailor’s ham or rolled towel to help press curves.
Finishing touches matter, and these simple hacks make it easier than ever to sew like a total pro—without fancy equipment or a fashion degree. Just a little steam, a little lavender, and a lot of “wow, I made this?!”
Storage Hacks to Keep You Sane (and Inspired)
Let’s face it—sewing can be messy. Between the scraps, threads, tools, and patterns, it’s easy for your workspace to go from cute to chaotic real fast. These storage hacks will help you stay organized without losing your creative spark.
Hang Tools on a Pegboard or Magnetic Strip
Give your scissors, rotary cutters, and measuring tape a permanent home by hanging them up where you can see them. A pegboard looks adorable and keeps everything at your fingertips, while a magnetic knife strip from the kitchen section works like a dream, too.

Sort Scraps by Color or Size in Clear Bins
Don’t toss your scraps—they’re gold for small projects and patchwork! Store them in labeled bins, zip pouches, or even mason jars. Sorting by color makes it so much easier to find what you need without digging through a tangled mess.
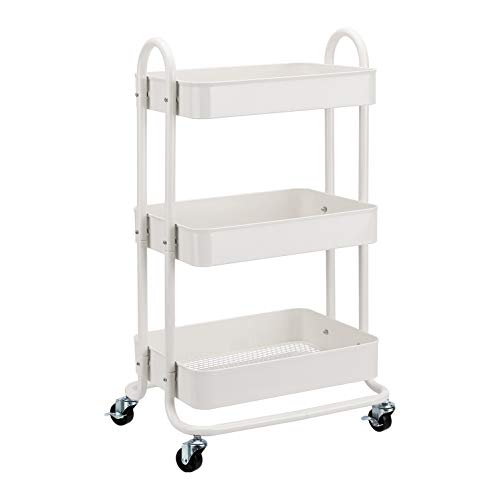
Use a Rolling Cart for On-the-Go Sewing Sessions
A 3-tier rolling cart (like the popular IKEA one) is perfect for organizing thread, fabric, scissors, and in-progress projects. Just roll it wherever you’re working—desk, dining table, or couch—and keep the clutter contained.
Repurpose Mason Jars for Buttons, Clips, and Notions
Cute and functional? Yes please. Mason jars or little jam jars are perfect for holding buttons, snaps, pins, and random bits that would otherwise disappear into the void.
Keep Patterns in a Binder or Magazine File
Organize printed patterns in sheet protectors inside a binder, or stand them up in a magazine file. It keeps them wrinkle-free and easy to flip through when you’re planning your next project.
When your space feels calm and tidy, your creativity flows way more easily. These simple storage solutions will help you spend less time searching—and more time sewing with joy.
Wrap-Up: Your New Secret Weapon? These Sewing Hacks
And there you have it—your new toolkit of sewing hacks to make every project smoother, faster, and way more fun. Whether you’re sewing in the cracks of your day or carving out full-on creative weekends, these little tricks are here to save your time, your sanity, and maybe even your fabric stash.
Remember: you don’t need fancy tools or years of experience to sew like a total boss. You just need a few clever hacks and the confidence to try. So go ahead—clip those seams, press with your flat iron, organize your scraps, and get stitching. You’ve got this.
Oh, and don’t forget to pin this post or share it with your sewing besties—they’ll thank you later.