Toddler Rainbow Craft: Simple and Sweet Preschool Rainbow Project
Last Updated on 05/19/2026 by Nell Marie
Are you looking for a fun and colorful art activity for your toddler or preschooler?
This easy rainbow craft is the perfect mix of creativity and hands-on fun!
Using simple supplies like a paper plate, cotton balls, paint, and strips of construction paper in every color of the rainbow, your little one will create a cheerful masterpiece that’s as bright as their imagination.
It’s a great way to explore colors, practice fine motor skills, and enjoy some mess-friendly painting time together.
If you’re doing it at home or in the classroom, this rainbow craft is sure to bring big smiles!
More Projects:
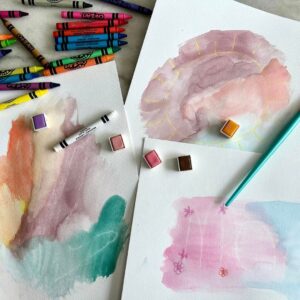
- Crayon Resist Art for Kids Who Are Exploring Their Artistic Talents
- Paper Plate Rainbow Craft: No Fuss. Minimal Mess. Optimal Fun
- Spring Crafts for Preschoolers: Creative Spring Crafts Your Preschooler Will Love
Affiliate links may be used in this post and if so I will receive a commission at no extra cost. I’m also part of the Amazon Affiliate (Associate) program where I earn a commission from sales made through my affiliate links. Read the full disclosure policy.
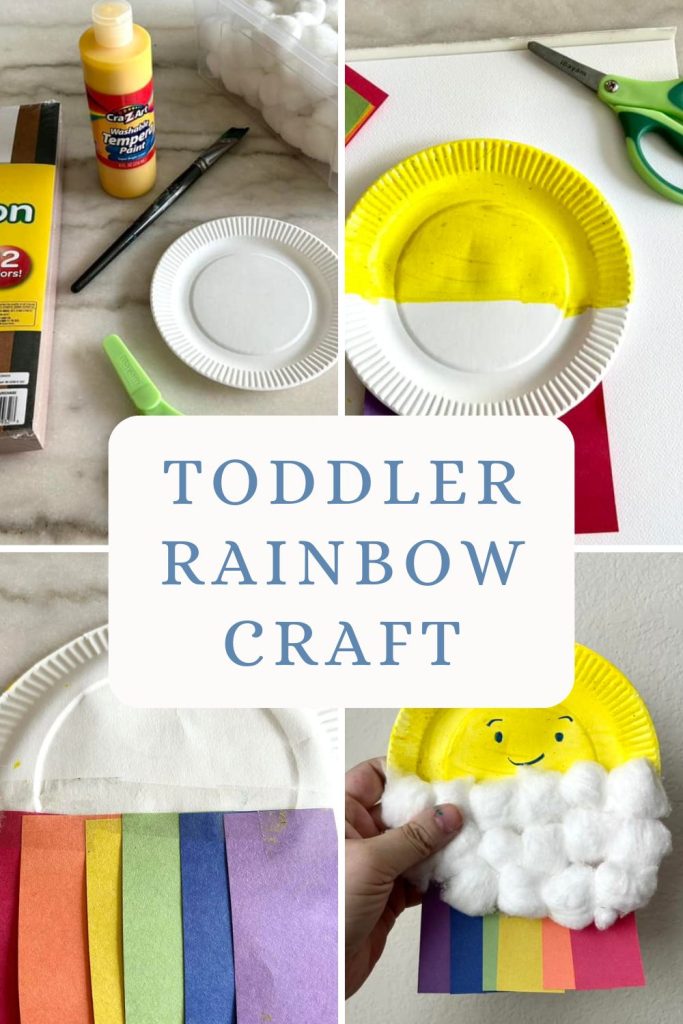
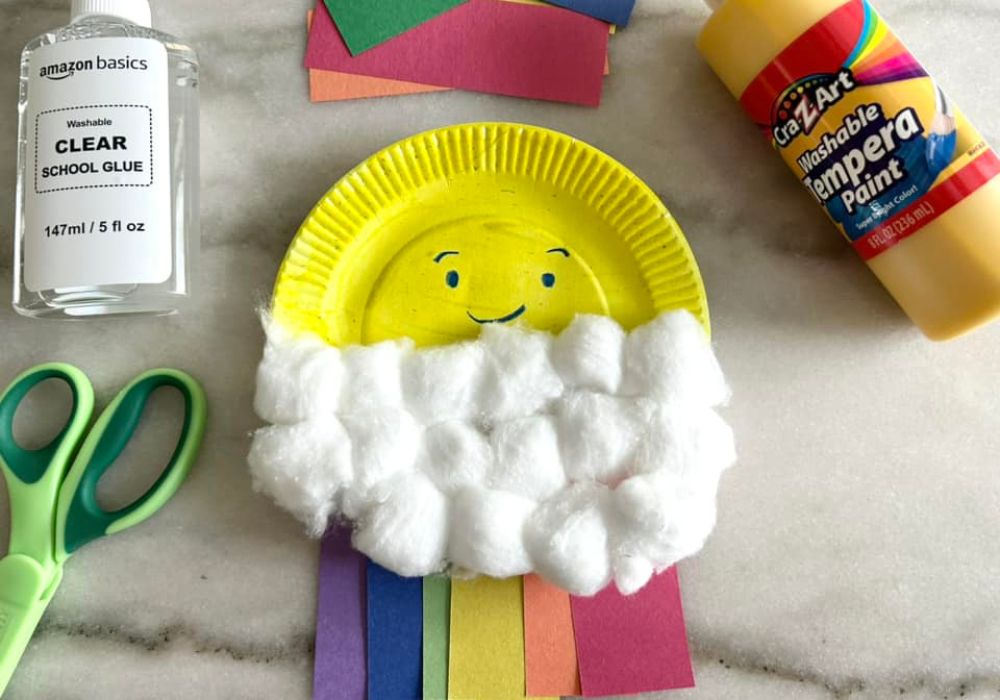
Toddler Rainbow Craft
I came up with this rainbow craft idea while thinking about how to represent the sun, clouds, and a rainbow using simple, everyday supplies that little ones could easily work with. I wanted something that would capture the cheerful look of a rainbow while also being safe and manageable for preschoolers.
That’s when the idea of using a paper plate for the sun and clouds, cotton balls for the fluffy sky, and strips of construction paper for the rainbow colors came together. We used washable paint, Elmer’s glue, and kid-safe scissors to keep it toddler-friendly, but I’d still recommend having a grown-up nearby to help with cutting and gluing.
It turned out to be such a sweet and colorful project—and it’s always fun to watch kids light up as they build their own little rainbow!
Important Note: When gluing or taping the construction paper to the back of the paper plate, you’ll need to reverse the order of the rainbow in order to avoid the mistake you’ve probably noticed with mine – the rainbow colors are backwards! But it’s still cute, so even if you make that mistake, it’s still a fun result!
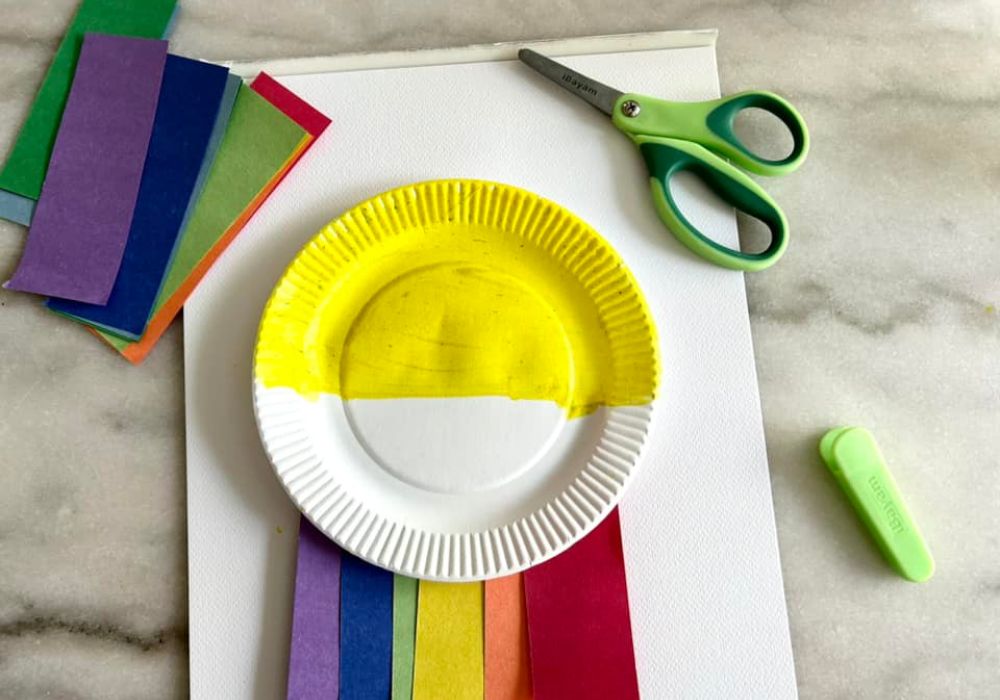
Step One: Gathering Supplies
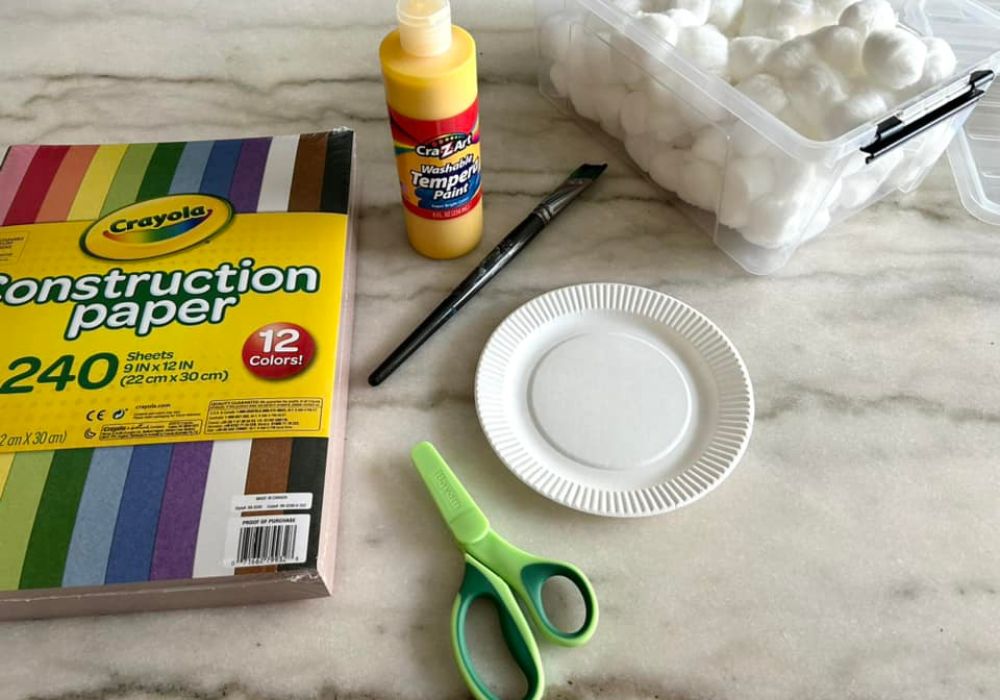
You’ll just need a few simple supplies to put this sweet little craft together. Grab a paper plate—any size will do (I used a 6-inch one). You’ll also need some regular-sized cotton balls, tempera paint (or any paint you prefer—I like tempera because it’s washable), and either Elmer’s glue, school glue, or even tape. For the rainbow, use construction paper in red, orange, yellow, green, blue, and purple. Child-safe scissors work great, or you can pre-cut the strips yourself. And don’t forget a few crayons to draw a happy little face on the sun!
Supplies
- Paper plates
- Cotton balls
- Washable paint
- Construction paper
- Crayons
- School glue or tape
- Child-safe scissors
- Paint brush
Step Two: Painting the Sun
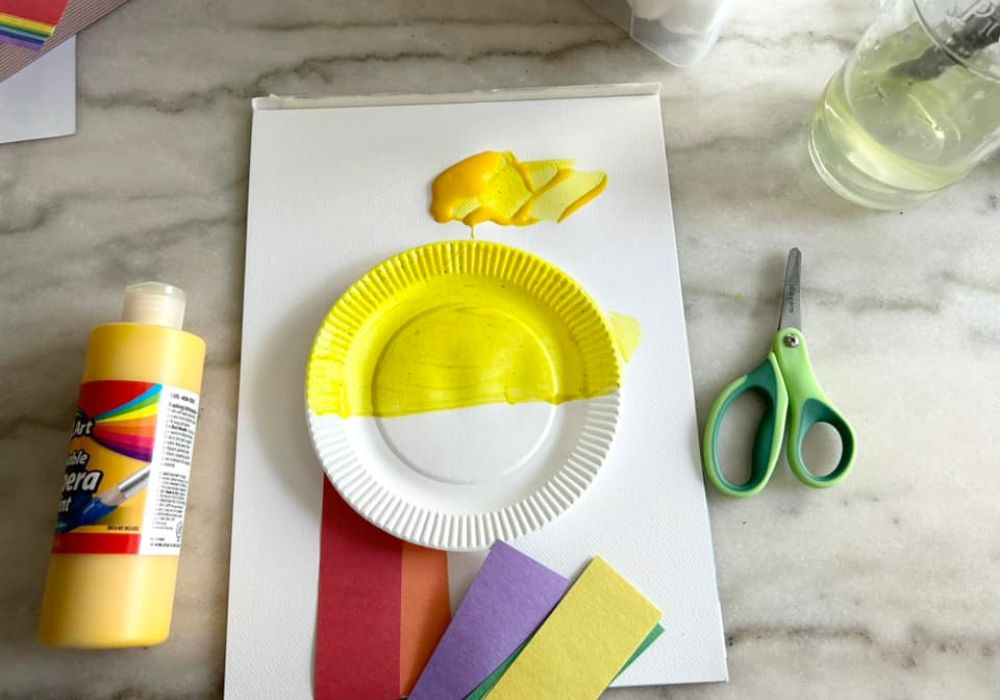
Now that you’ve got all your supplies ready, it’s time to start with the sun! Paint about half of the paper plate with yellow washable paint to create a bright, sunny base. Once it’s fully coated, set it aside for a few minutes to dry. This will help keep the yellow paint from smudging onto the cotton balls when you move on to the next step.
Step Three: Cut Strips and Glue Down
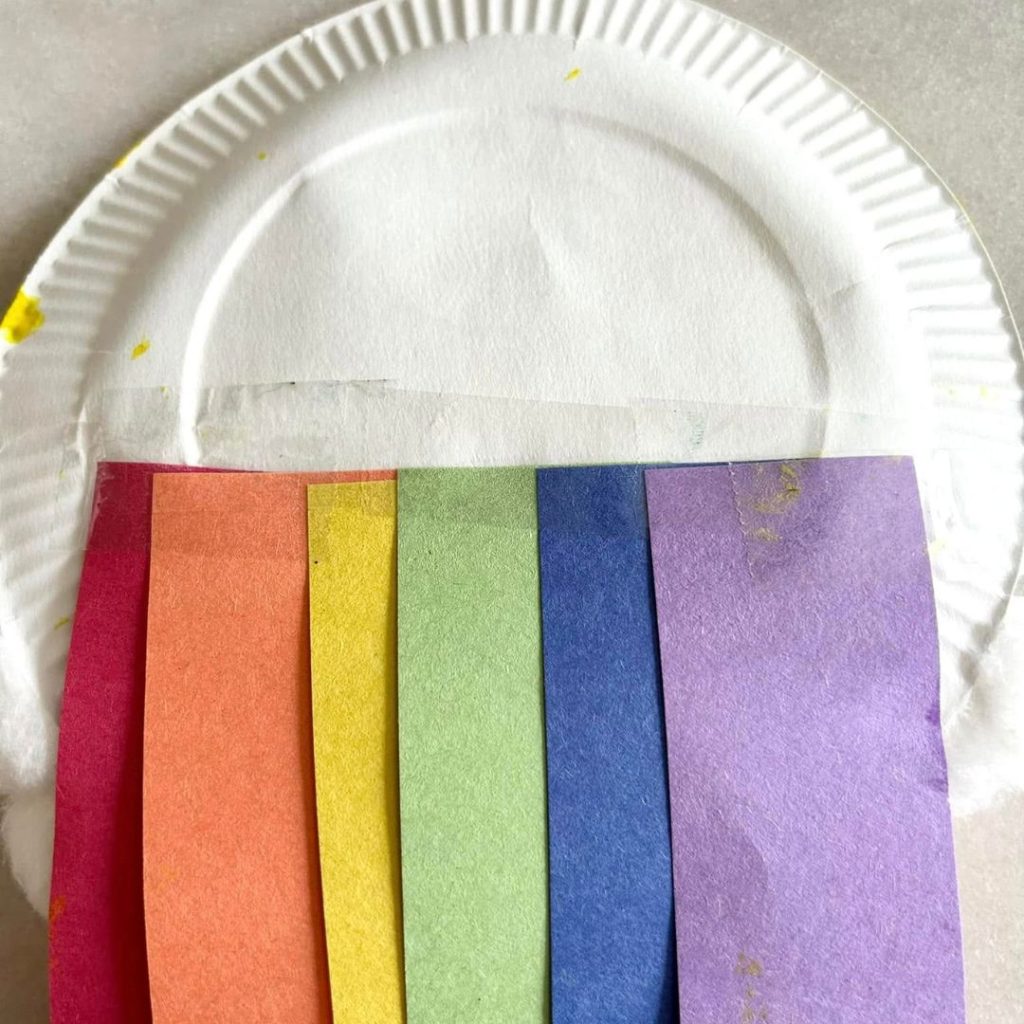
While the paint is drying, go ahead and cut your rainbow strips. The size is totally up to you—do you want a short rainbow, a skinny rainbow, or a long and flowing one?
I ended up cutting my strips in half and holding them behind the paper plate to play around with the length before trimming them to size.
Once you’re happy with how they look, flip the paper plate over (just make sure you’re working on a paint-safe surface in case any yellow paint is still a bit wet). Then, tape or glue the strips to the back of the plate.
And here’s a little tip—don’t do what I did! Make sure to reverse the order of the rainbow colors when you’re attaching them to the back so that when you flip the plate over, they show up in the correct ROYGBIV order… unless you’re into surprise rainbows like mine, ha!
Step Four: Add Cotton Balls
Now that the paint is mostly dry, it’s time to add the fluffy clouds! Take your cotton balls, add glue to the back of each one, and press them glue-side down onto the lower half of the paper plate.
Keep going until that section is completely covered and looks like a soft, puffy cloud with the sun peeking out from behind it. It’s a super simple step, but it really brings the whole rainbow scene to life!
Step Five: Adding the Face
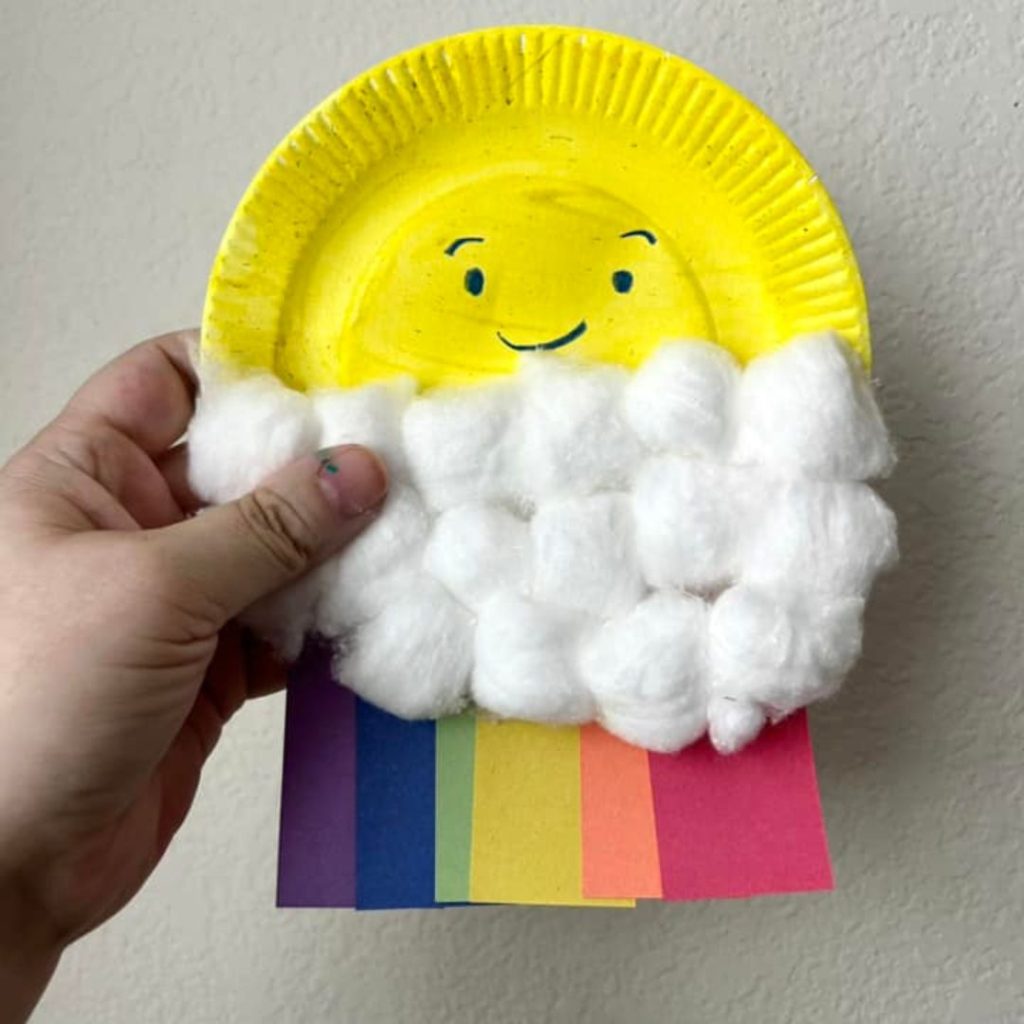
The final step is to add a cheerful little face to your sun! Just make sure the paint is completely dry before you start. You can use a crayon, some colored pencils, or even a regular ink pen—whatever you have on hand.
Get creative and make the face as cute or silly as you’d like. And that’s it—you’ve just made an adorable rainbow cloud sun craft that’s bright, happy, and perfect for little hands!
Final Thoughts
This toddler rainbow craft is such a fun way to spend creative time together, and it’s a great opportunity for little ones to explore colors, textures, and simple crafting skills.
With just a few basic supplies and a bit of imagination, you can turn an ordinary afternoon into a colorful art session filled with smiles and sunshine.
Whether you’re using it as part of a weather lesson, a rainbow-themed week, or just a rainy day activity, this project is sure to be a hit.
Don’t worry if it’s not perfect—what matters most is the joy and creativity your child puts into it.
Happy crafting!