Paper Plate Dinosaur Craft for Preschoolers
Last Updated on 07/16/2026 by Nell Marie
If your little ones are anything like mine were at that age, they are likely obsessed with anything dinosaurs.
Affiliate links may be used in this post and if so I will receive a commission at no extra cost. I’m also part of the Amazon Affiliate (Associate) program where I earn a commission from sales made through my affiliate links. Read the full disclosure policy.
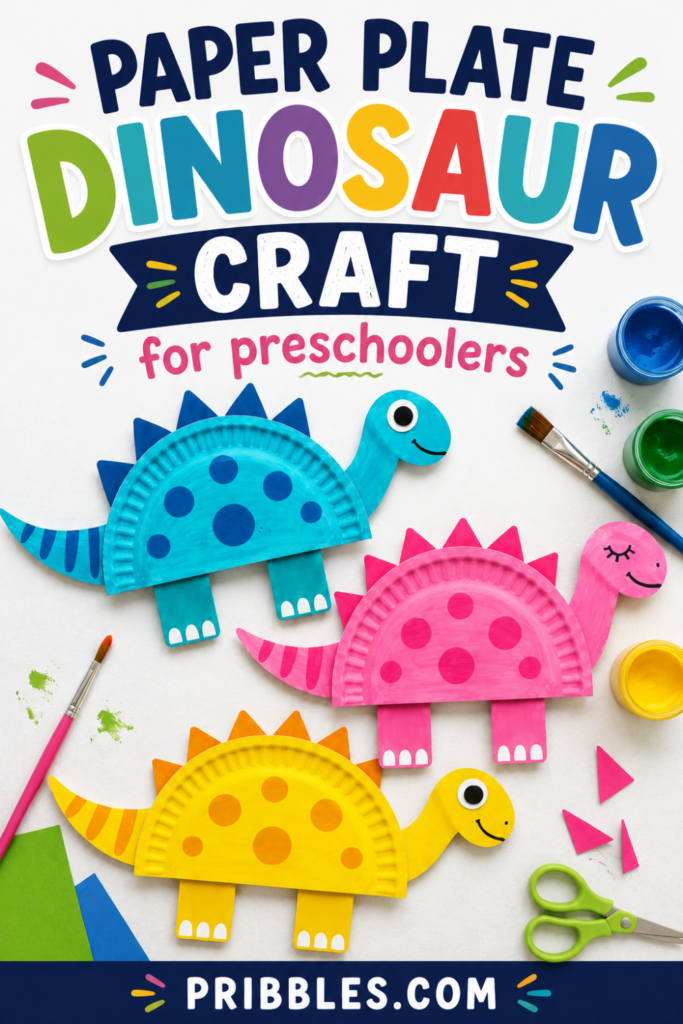
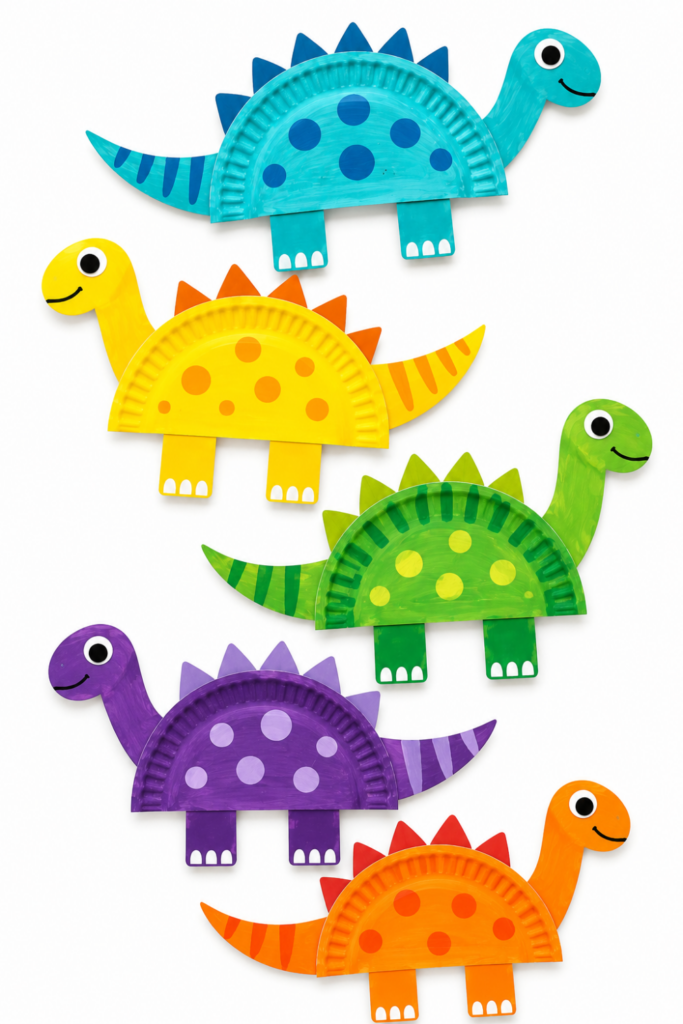
If you’re looking for a fun craft that keeps little hands busy and sparks big imaginations, then this paper plate dinosaur craft is an easy preschool activity that’s perfect for dinosaur-loving kids.
With just a few simple supplies, your little one can create their very own colorful dinosaur while practicing cutting, gluing, painting, and fine motor skills along the way.
Whether you’re planning a dinosaur-themed lesson, a rainy day activity, or just want a simple afternoon craft, this adorable project is one preschoolers will have so much fun making.

Note from Nell
I’ve always loved crafts that are simple to set up but still make kids light up with excitement, and this paper plate dinosaur craft is one of those projects. With just a few basic supplies, preschoolers can paint, cut, glue, and create their very own colorful dinosaur while having so much fun along the way. I especially love that there’s no “right” way to decorate them—whether your little one makes a bright pink dinosaur with polka dots or a classic green one with stripes, every creation turns out unique. I hope this craft brings plenty of smiles, creativity, and maybe even a few roaring dinosaur adventures to your day!
Nell Marie
Grab Your FREE Two-Week Family Dinner Meal Planner!
When you join our newsletter
Why Kids Will Love This Dinosaur Craft
If your little one lights up every time they see a dinosaur, they’re going to have so much fun making this adorable paper plate craft! It’s simple enough for preschoolers to enjoy with a little help, but still leaves plenty of room for them to get creative with colors, patterns, and decorations. No two dinosaurs have to look alike, which makes each one extra special.
Parents and teachers will love that this craft is made with inexpensive supplies and helps little learners practice important skills while they create. It’s a wonderful activity for a dinosaur-themed lesson, a rainy afternoon at home, a preschool classroom, or even a fun playdate.
Some of the reasons this craft is such a favorite include:
- Easy for preschoolers to make with simple supplies
- Perfect for kids who love dinosaurs
- Encourages creativity and imaginative play
- Builds fine motor skills through painting, cutting, and gluing
- Great for home, preschool, daycare, or homeschool activities
- Can be customized with different colors, spots, stripes, and fun decorations
- Creates an adorable keepsake kids will be proud to show off
Supplies You’ll Need
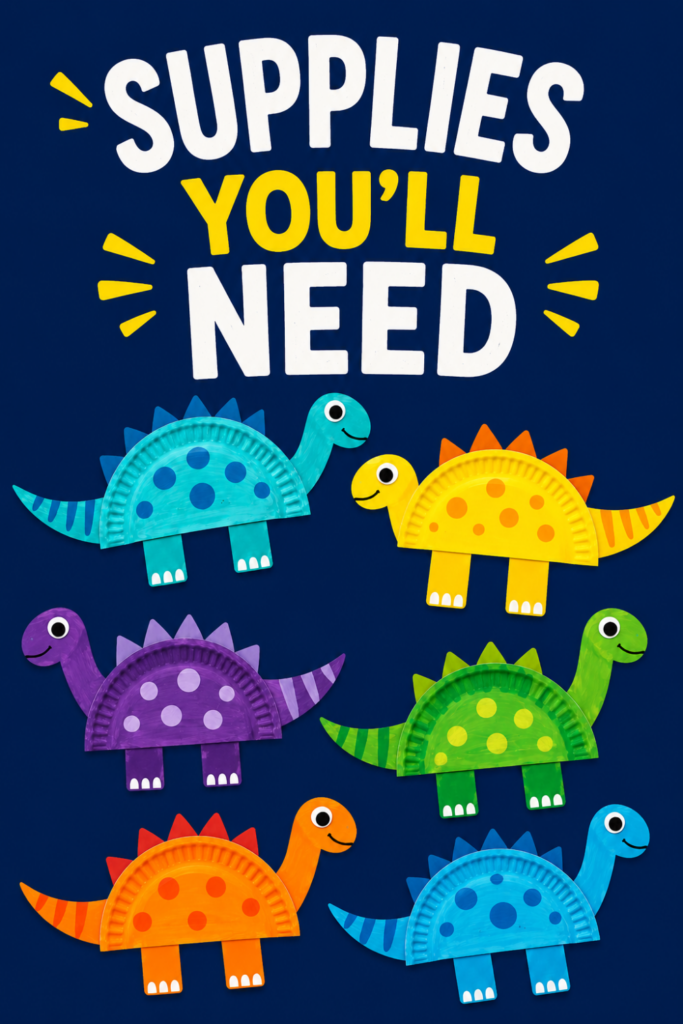
One of the best things about this paper plate dinosaur craft is that it only requires a handful of inexpensive supplies. You may already have most of these items in your craft bin, making this an easy activity to put together without a trip to the store.
You’ll need:
- 1 paper plate (per dinosaur)
- Green craft paint (or any color you’d like)
- Paintbrush
- Construction paper or cardstock for the head, tail, legs, and spikes
- Googly eye (or draw one with a marker)
- Child-safe scissors
- Glue stick or liquid craft glue
- Black marker for the face and details
- Pencil (optional for tracing your pieces before cutting)
Optional supplies for extra fun:
- Pom-poms
- Glitter glue
- Washi tape
- Stickers
- Foam shapes
- Pipe cleaners
- Crayons or markers for extra details
- Sequins or craft gems
- White paint pen for highlights
- Dinosaur stickers to decorate the background
How to Make a Paper Plate Dinosaur
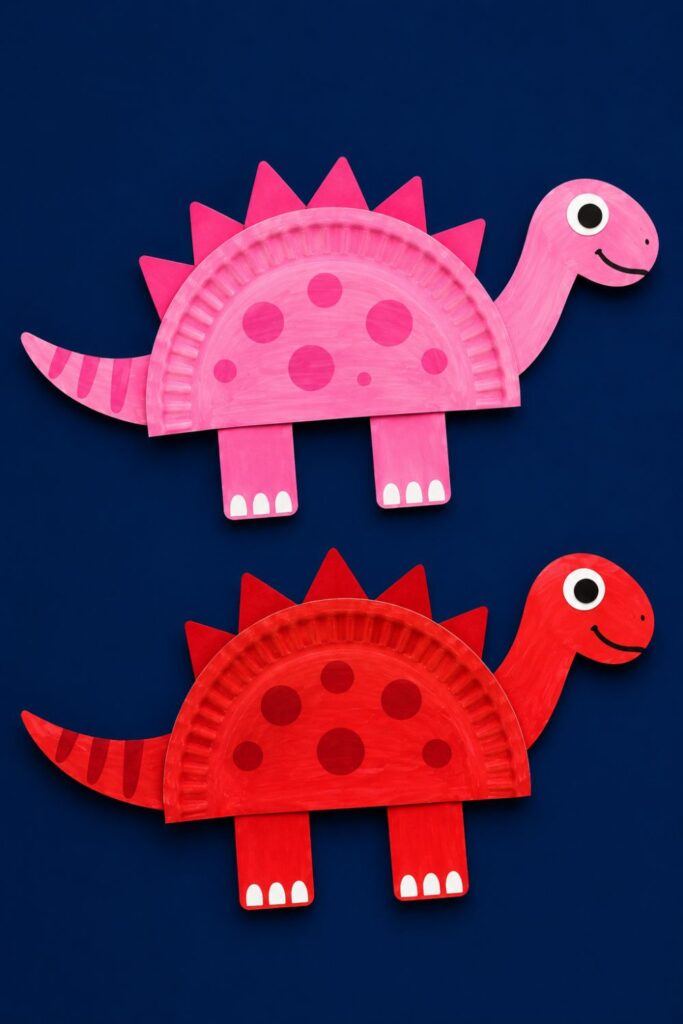
The steps below are pretty simple and don’t need a fancy plan but you may need to assist your toddlers in cutting the shapes out.
Step 1: Paint the Paper Plate
Cut the paper plate in half. Paint one paper plate your favorite dinosaur color and allow it to dry completely.
Step 2: Cut Out the Pieces
- Long neck
- Head
- Tail
- Four legs
- Triangles or spikes for the back
Step 3: Decorate the Dinosaur
- Spots
- Stripes
- Dots
- Belly markings
- Colorful spikes
Step 4: Assemble the Dinosaur
Glue everything onto the paper plate to represent a dino!
Step 5: Add the Face
Glue on the googly eye and draw a smile and nostril with a marker. If you don’t have googly eyes, you could easily draw eyes onto the dinosaur.
Dinosaur Craft Tips
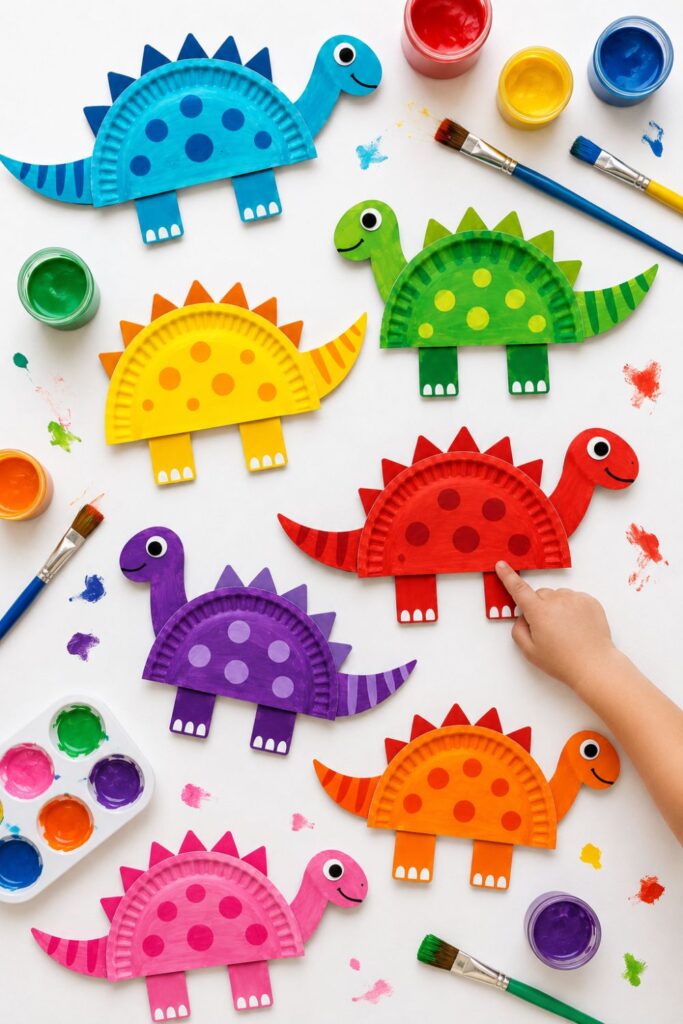
A few simple tricks can make this craft even more enjoyable for both kids and adults. Whether you’re making one dinosaur or a whole prehistoric herd, these tips will help everything come together smoothly.
- Let kids choose their own colors. Dinosaurs don’t have to be green! Bright pink, blue, purple, orange, or rainbow dinosaurs are just as fun and encourage creativity.
- Use washable craft paint. Washable paint makes cleanup quick and stress-free, especially when crafting with preschoolers.
- Help younger children with cutting. Adults can cut out the head, tail, legs, and spikes ahead of time, allowing little ones to focus on painting, decorating, and gluing.
- Allow the paint to dry completely. Waiting until the paper plate is dry before assembling the dinosaur helps the glue stick better and prevents smudges.
- Choose cardstock for sturdier pieces. Cardstock holds its shape better than regular construction paper, making the neck, legs, and tail more durable.
- Lay out all of the pieces first. Before gluing, arrange the head, legs, tail, and spikes on the paper plate so kids can see how their dinosaur will look.
- Protect your workspace. Cover your table with newspaper, a plastic tablecloth, or butcher paper to make cleanup easy.
- Keep baby wipes or a damp cloth nearby. They’re perfect for wiping little hands before touching googly eyes or glue.
- Make a whole dinosaur family. Create several dinosaurs in different colors and sizes for even more imaginative play after the craft is finished.
- Display their creations proudly. Hang the finished dinosaurs on the wall, display them on a bulletin board, or create a fun dinosaur parade around the classroom or playroom.
Fun Ways to Customize Your Dinosaur
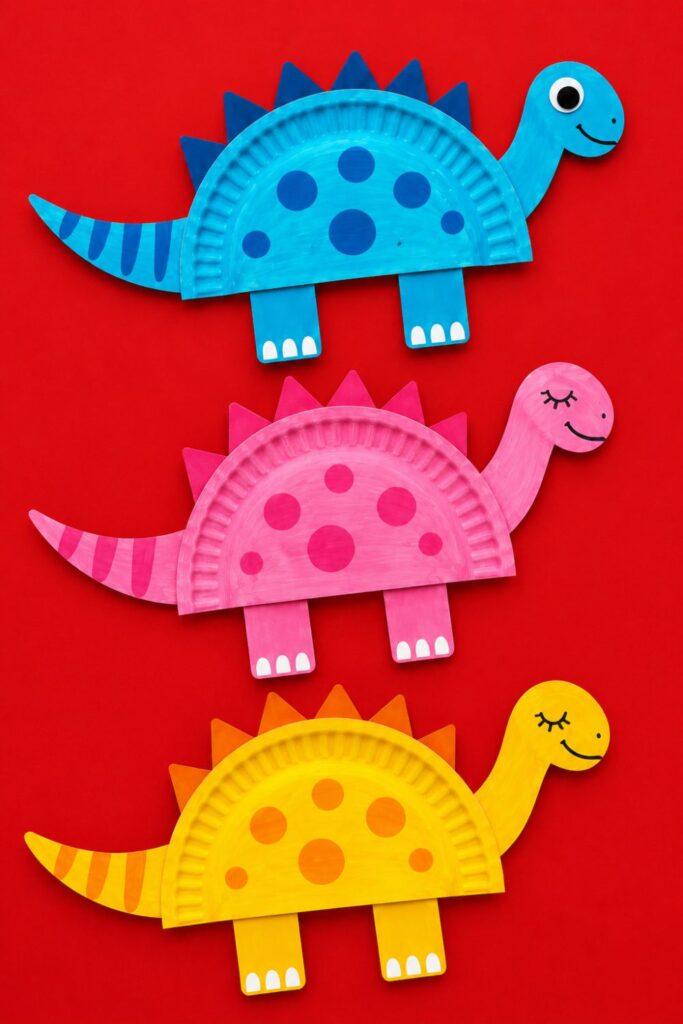
One of the best parts of this paper plate dinosaur craft is that no two dinosaurs have to look the same! Encourage kids to let their imaginations run wild as they decorate their prehistoric friend with fun colors, textures, and creative accessories. It’s a great way to make each dinosaur completely unique.
Here are some fun ideas to inspire your little artists:
Make a Rainbow Dinosaur
Who says dinosaurs had to be green? Paint each section of the dinosaur a different bright color for a cheerful rainbow creation.
Add Some Glitter
Brush a little craft glue onto the spikes, tail, or body and sprinkle on glitter for a dinosaur that sparkles in the light.
Create Polka Dots and Patterns
Use fingerprints, cotton swabs, or the end of a paintbrush to add colorful dots, stripes, zigzags, or swirls across the dinosaur’s body.
Glue on Pom-Poms
Small pom-poms make adorable spots, colorful spikes, or even funny dinosaur noses.
Add Feathers
Glue feathers along the back or tail to create a playful dinosaur with lots of personality.
Try Tissue Paper Instead of Paint
Tear colorful tissue paper into small pieces and glue them onto the paper plate for a fun mosaic effect with plenty of texture.
Give Your Dinosaur a Name
Once the craft is finished, let kids come up with a silly or creative dinosaur name and write it on the back of their masterpiece.
Make a Dinosaur Family
Create several dinosaurs in different sizes and colors to make a whole prehistoric family. Kids will love playing with their creations long after the craft is finished.
Add Googly Eyes in Different Sizes
Use oversized or tiny googly eyes to give each dinosaur its own funny expression.
Create a Dinosaur Scene
Glue the finished dinosaur onto a larger sheet of construction paper and add volcanoes, trees, rocks, clouds, or a bright sun to build a prehistoric landscape. It’s a fun way to turn a simple craft into a complete work of art.
Learning Activities to Pair With This Craft
Great for homeschool or preschool activities.
Ideas to explore:
- Read dinosaur books.
- Practice counting the spikes.
- Learn dinosaur names.
- Match dinosaur colors.
- Measure which dinosaur is tallest.
- Make dinosaur footprints.
- Hide toy dinosaurs for a scavenger hunt.
- Sing dinosaur songs.
Frequently Asked Questions
What age is this paper plate dinosaur craft best for?
This craft is perfect for preschoolers, typically ages 3 to 5, but older kids will enjoy decorating their dinosaurs too. Younger children may need a little help with cutting and assembling the pieces, while older kids can complete most of the project on their own.
Can toddlers make this craft?
Absolutely! Toddlers can join in on the fun with a bit of adult assistance. They can help paint the paper plate, choose colors, decorate the dinosaur, and glue the pieces together while an adult handles the cutting.
Can I use cardstock instead of construction paper?
Yes! Cardstock is actually a great option because it’s thicker and more durable than construction paper. It helps the dinosaur’s head, legs, tail, and spikes hold their shape better, making the finished craft sturdier.
How long does this craft take?
Most kids can finish the craft in 20 to 30 minutes, depending on how much decorating they want to do. If you’re waiting for paint to dry, you may want to allow a little extra time before gluing the pieces together.
Can I make different kinds of dinosaurs?
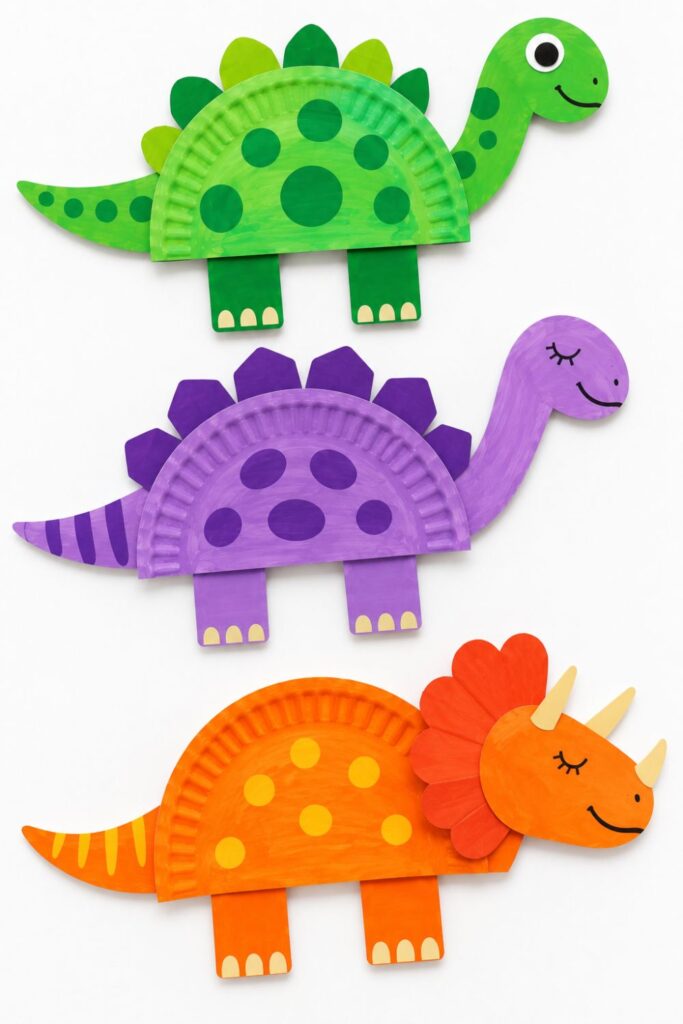
Definitely! You can easily change the shape of the head, neck, tail, or spikes to create different dinosaurs. Try making a stegosaurus with large back plates, a brontosaurus with a long neck, or even a colorful made-up dinosaur using your child’s imagination.
What if I don’t have googly eyes?
No worries! You can simply draw an eye with a black marker, use a small circle of white paper with a black dot in the middle, or even cut an eye from construction paper. Your dinosaur will still turn out just as cute.
Can I make this craft without paint?
Yes! If you’d rather skip the paint, you can cover the paper plate with colored tissue paper, construction paper, crayons, markers, or colored pencils. There are lots of fun ways to decorate your dinosaur using supplies you already have at home.
Is this a good classroom or daycare craft?
It sure is! Since it uses inexpensive materials and simple steps, it’s a wonderful activity for preschool classrooms, daycare centers, homeschool lessons, library programs, and dinosaur-themed parties. Kids love seeing how everyone’s dinosaur turns out a little different.
Save to Pinterest