Paper Plate Pumpkin Craft
Last Updated on 07/18/2026 by Nell Marie
Paper plate crafts are always a hit because they’re inexpensive, easy to make, and perfect for kids of all ages.
Affiliate links may be used in this post and if so I will receive a commission at no extra cost. I’m also part of the Amazon Affiliate (Associate) program where I earn a commission from sales made through my affiliate links. Read the full disclosure policy.
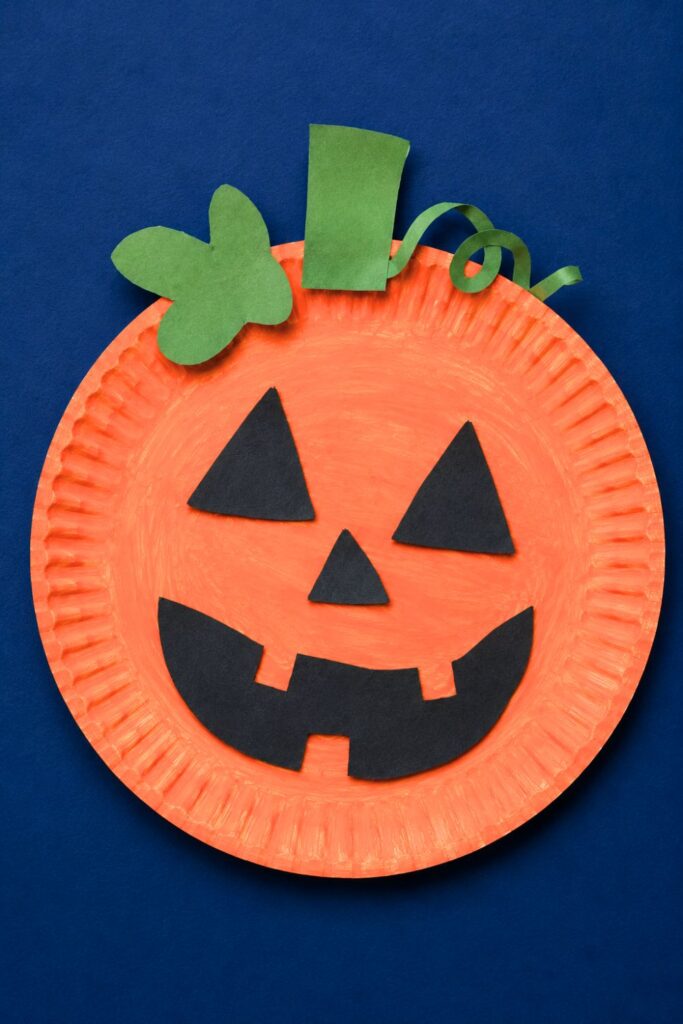
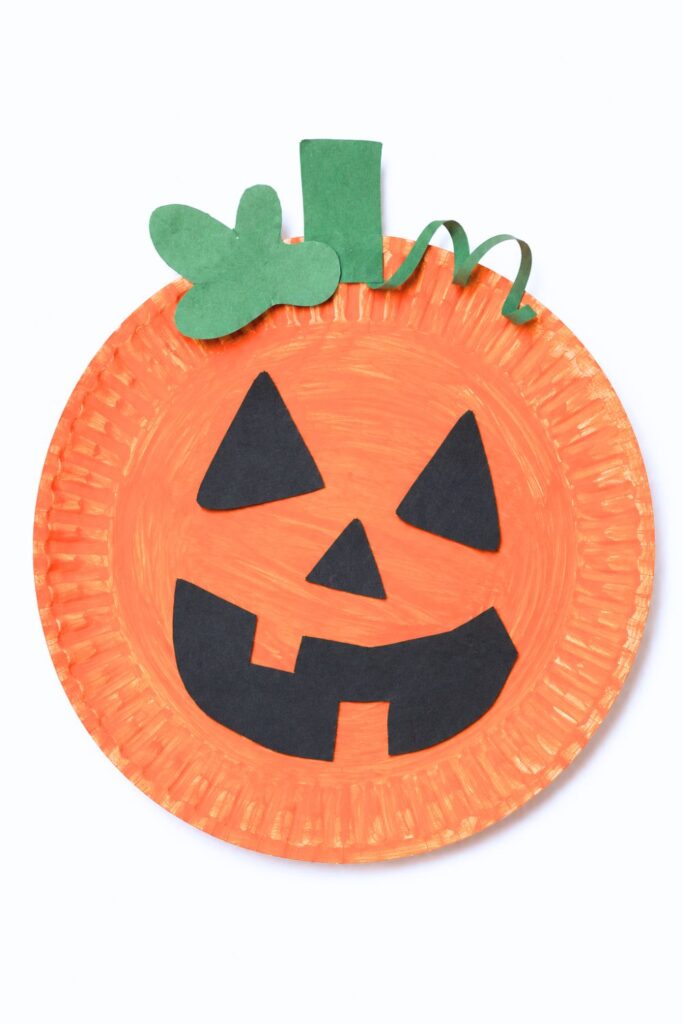
These Paper Plate Pumpkin Faces are a fun way to celebrate fall while letting little artists create anything from goofy grins to spooky jack-o’-lantern smiles.
Grab a few basic craft supplies, spread out some creativity, and enjoy making pumpkins that are as unique as the kids creating them!
More crafts:
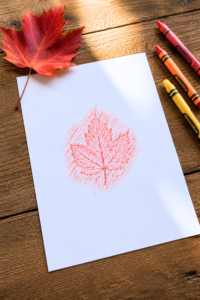
- Leaf Rubbing Art: A Classic Craft for Toddlers & Kids
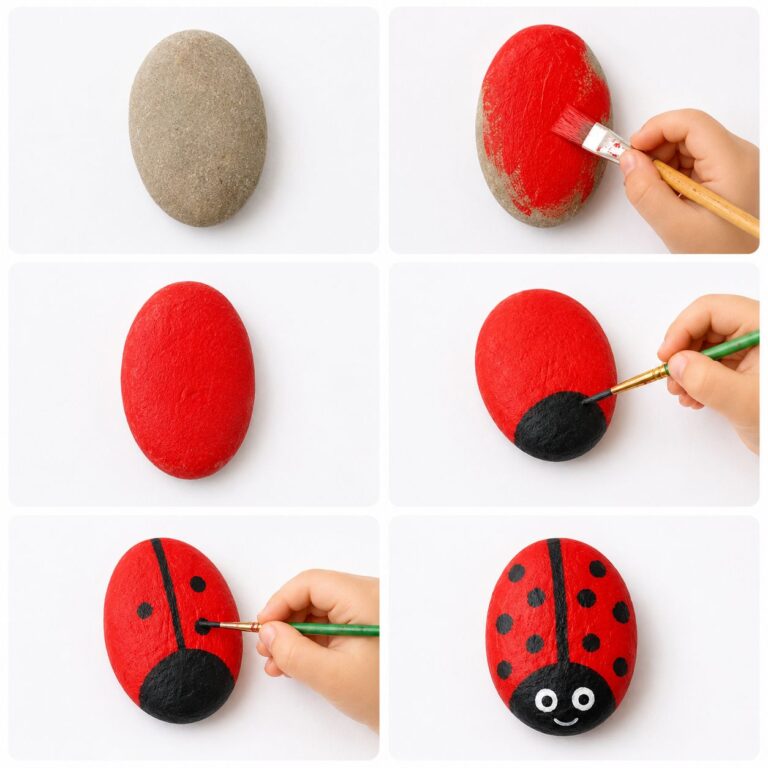
- How to Paint Ladybug Designs on Rocks for Kids
- Easy Ocean Crafts for Kids Using Supplies You Already Have
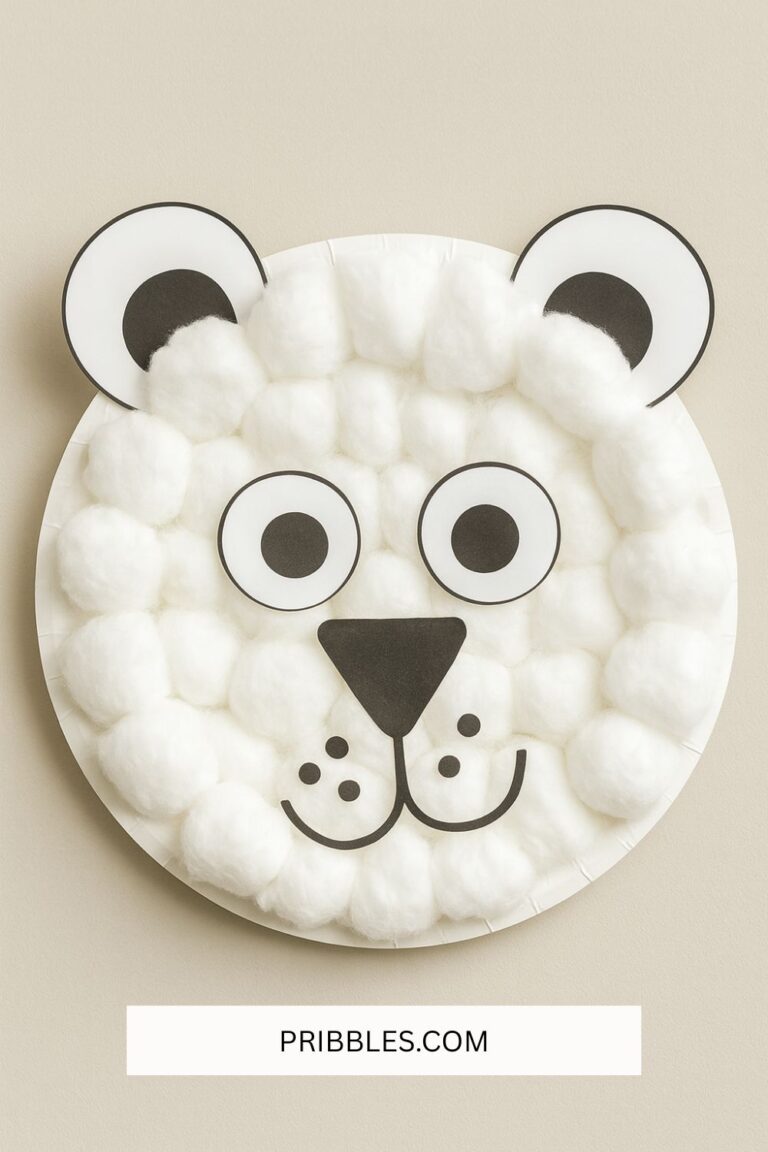
- Paper Plate Dinosaur Craft for Preschoolers
Paper Plate Pumpkin Faces
These Paper Plate Pumpkin Faces are a simple fall craft that’s perfect for preschoolers, elementary-aged kids, classrooms, or a cozy afternoon at home. Every pumpkin can have its own personality, whether it’s funny, friendly, or just a little bit spooky!
Supplies
- White paper plates
- Orange washable paint
- Paintbrushes
- Green and black construction paper
- Scissors
- Glue stick or school glue
- Black marker (optional)
- Googly eyes (optional)
- Newspaper or craft mat to protect your table
Instructions
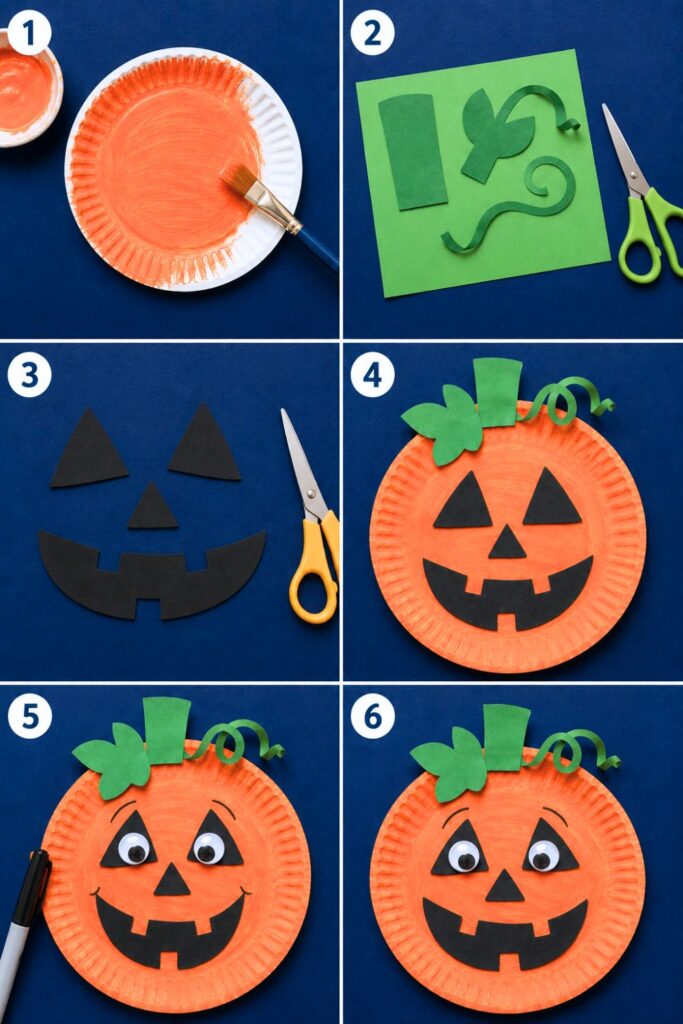
Paint the paper plate.
Paint the front of a paper plate completely orange. If the plate needs a second coat, let the first coat dry before adding more paint.
Cut out the pumpkin pieces.
While the paint dries, cut a small pumpkin stem from green construction paper. You can also cut leaves, vines, or curly tendrils for extra decoration.
Create the face.
Cut eyes, a nose, eyebrows, and a mouth from black construction paper. Make them any shape you’d like! Try triangles for a classic jack-o’-lantern or circles and ovals for a friendlier pumpkin.
Glue everything in place.
Once the paint is completely dry, glue the stem to the top of the plate. Then arrange and glue on the facial features.
Add the finishing touches.
Draw extra details with a black marker, glue on googly eyes, or add rosy cheeks, freckles, or a goofy smile to give your pumpkin even more personality.
Display your pumpkins.
Hang them on a classroom bulletin board, tape them to windows, decorate a playroom, or create a whole pumpkin patch on a wall.
Tips
- Let kids design their own expressions instead of copying an example.
- Use scraps of construction paper to make hats, bows, glasses, or even funny hair.
- Add glitter glue or sequins for a festive sparkle.
- Punch a hole at the top and thread ribbon through it for an easy hanging decoration.
- Younger children may need help cutting out the facial features, while older kids can create more detailed designs on their own.
This easy craft encourages creativity, helps develop fine motor skills, and makes adorable fall decorations that kids will be excited to show off.
Frequently Asked Questions
What age is this craft best for?
Paper Plate Pumpkin Faces are great for kids ages 3 and up. Younger children may need help with cutting and gluing, while older kids can create more detailed pumpkin designs on their own.
Can I use colored paper plates instead of painting them?
Absolutely! Orange paper plates work perfectly and save drying time, making this craft even quicker to complete.
What can I use instead of construction paper?
You can use cardstock, craft foam, felt, scrapbook paper, or even draw the facial features directly onto the plate with markers or crayons.
How long does this craft take?
Most kids can finish their pumpkin in about 20–30 minutes, depending on how long the paint takes to dry and how detailed they want their design to be.
Can kids make friendly pumpkins instead of spooky ones?
Yes! Encourage kids to create smiling, silly, surprised, sleepy, or even goofy pumpkin faces. They don’t have to be scary at all.
Is this a good classroom or homeschool activity?
Definitely! It’s inexpensive, easy to prepare, and allows every child to make a unique pumpkin. It’s perfect for classrooms, homeschool lessons, daycare centers, or fall parties.
How can I display the finished pumpkins?
You can tape them to walls, hang them with ribbon, create a classroom pumpkin patch bulletin board, decorate windows, or string several together into a festive fall garland.
Can I add extra decorations?
Of course! Try using googly eyes, glitter glue, ribbon, stickers, pom-poms, pipe cleaners, or tissue paper to give each pumpkin even more personality.