Crayon Resist Art for Kids Who Are Exploring Their Artistic Talents
Using crayons for resist art is such a fun and creative technique, and it’s great for both kids and adults! The idea behind crayon resist is that the wax in the crayon repels water-based paint, like watercolor.
Affiliate links may be used in this post and if so I will receive a commission at no extra cost. I’m also part of the Amazon Affiliate (Associate) program where I earn a commission from sales made through my affiliate links. Read the full disclosure policy.
When you paint over the crayon, the paint won’t stick to the waxy lines—creating a cool, “resist” effect that reveals your original crayon design.
I’ve got a couple of projects and ideas for you, but first here’s a quick breakdown of how to do it!
More to Read:
- Paper Plate Rainbow Craft: No Fuss. Minimal Mess. Optimal Fun
- Spring Crafts for Preschoolers: Creative Spring Crafts Your Preschooler Will Love
- 15 Mother’s Day Crafts for Kids And Free Printables
Crayon Resist Art
When I first discovered resist art, I was immediately drawn in by how fun and creative it felt. Resist art is basically a technique where I use a material to block or “resist” paint or dye from sticking to certain parts of my surface. This lets me create cool patterns, hidden messages, or bold designs that really pop once I add color over the top and reveal what’s underneath.
There are a few different ways to do resist art, depending on what I’m working with. For example, I might use white crayon or oil pastel to draw on paper before painting over it with watercolor—wherever the crayon is, the paint won’t stick. Or I might use masking tape or rubber cement as a barrier that I can peel away later to leave clean, untouched areas behind. It’s kind of like magic watching it all come together!
What I love about resist art is that it feels a little like a surprise every time. Whether I’m doing it myself or with kids, it’s such a fun and playful way to experiment with color, texture, and design. Plus, I don’t have to be super precise to get something beautiful—it’s really forgiving and open to interpretation, which makes it perfect for anyone who just wants to relax and make something cool.
How to Do Crayon Resist Art
- Start with white or light-colored paper – watercolor paper is ideal because it holds paint well.
- Draw your design with crayons – white crayons create a surprise effect, but you can use any color. Press firmly so there’s enough wax for the resist to work.
- Paint over your drawing with watercolor or diluted tempera paint. Watch your design pop through the paint!
- Let it dry, and you’re done!
Tips for Better Crayon Resist Art
- Use strong, bold strokes with the crayon so the resist effect really shows.
- Try layering colors: Draw with colored crayons, then paint with a contrasting color for a striking effect.
- White crayon on white paper is fun for mystery drawings—kids love seeing their hidden picture appear!
- Use watercolor paint, as it flows nicely around the wax and enhances the resist effect. Avoid acrylics or thick paint—they might cover the wax too much.
- Blow dry or air dry your piece after painting to prevent paper wrinkling.
Fun Crayon Resist Ideas
- Secret messages: Write with white crayon, then reveal the message with paint.
- Snow scenes: Draw snowflakes or wintery landscapes in white crayon, then wash over with blue watercolor.
- Galaxy art: Use white and light-colored crayons for stars, swirls, and planets, then paint over with dark purples, blues, and blacks.
- Nature silhouettes: Draw a tree or flower with black crayon, then paint the background with bright sunset or rainbow colors.
- Easter eggs or holiday cards: Let kids decorate paper egg shapes or make cards using crayon resist—it adds a magical touch!
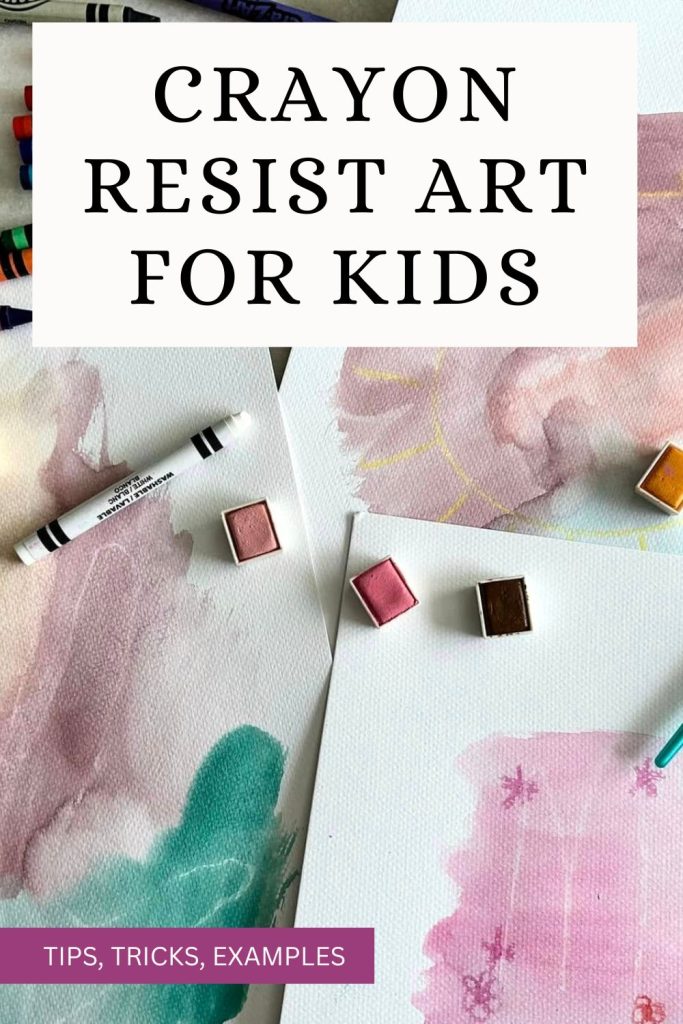
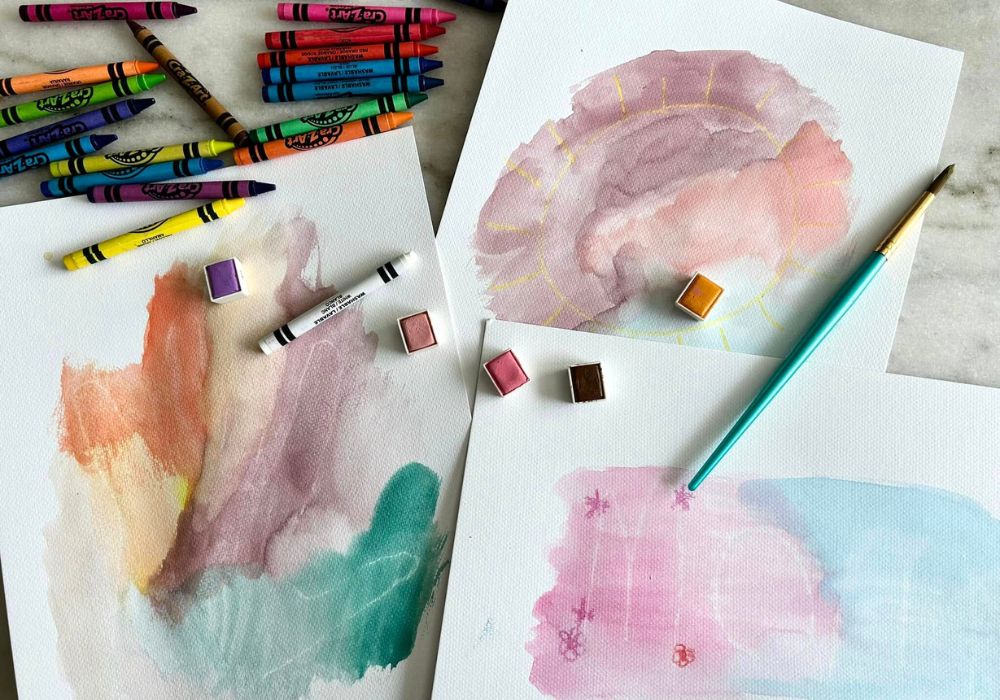
Resist Art Examples
I made a few examples of what you can do with crayon resist art. Each one was super easy and fun, and would be great for little kids learning how to make art.
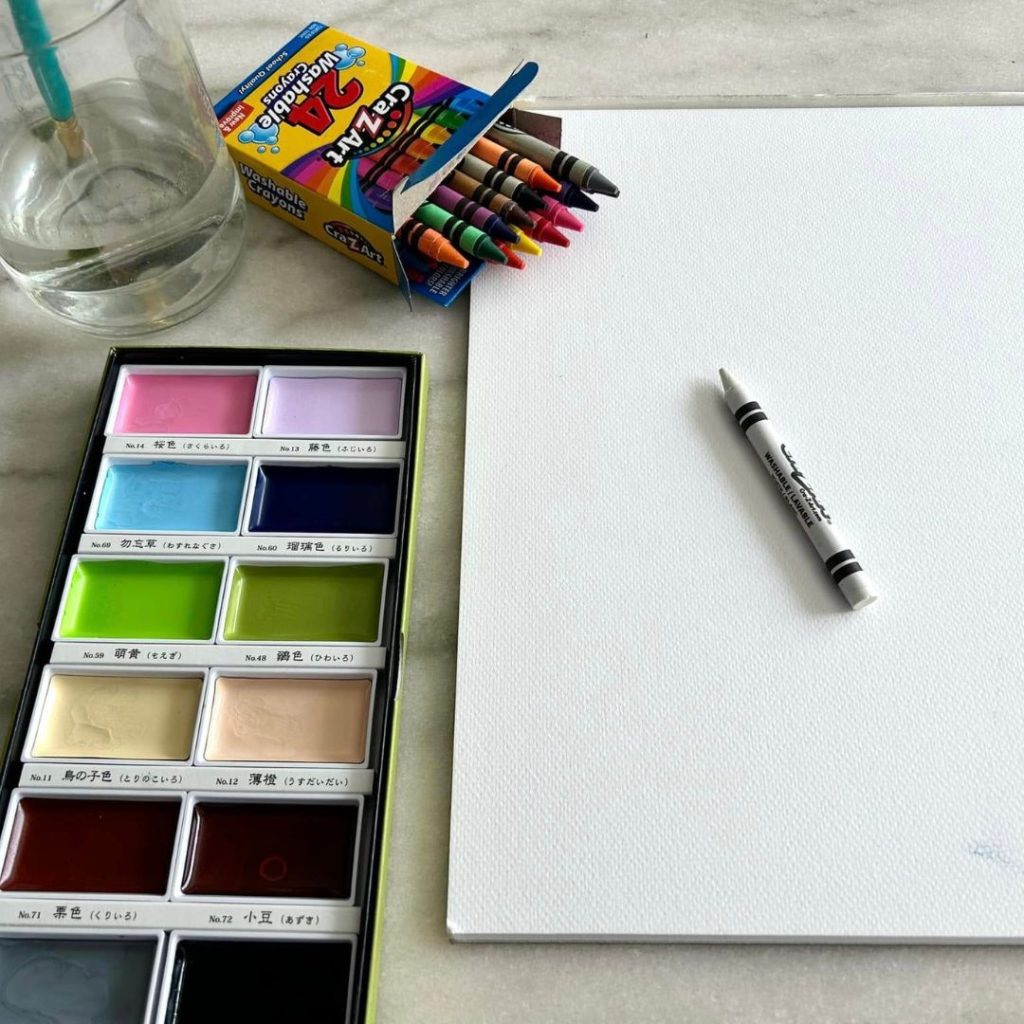
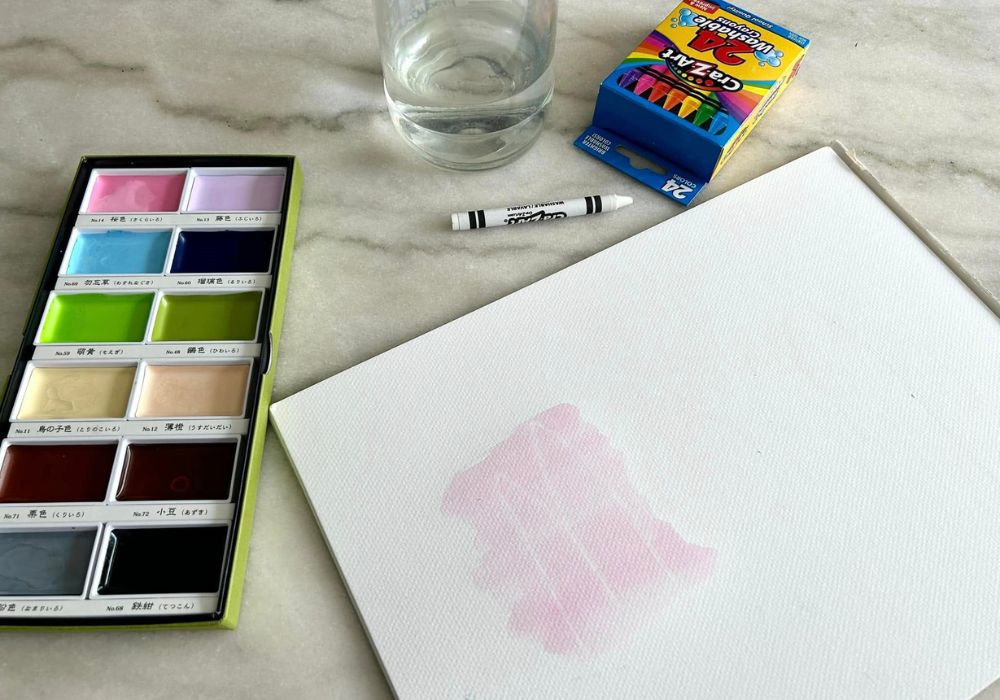
All you need is a box of crayons, watercolor paper, and paint. I used watercolor paint here, but you can water down tempera paint if you have that on hand.
I found that you do need to push somewhat hard, and bolder lines work better.
I like the white for the fun surprise you get when painting over the lines, but I also found using colored crayons an easier way for kids to see what they’re drawing, and the paint still pushes away from the markings a bit.
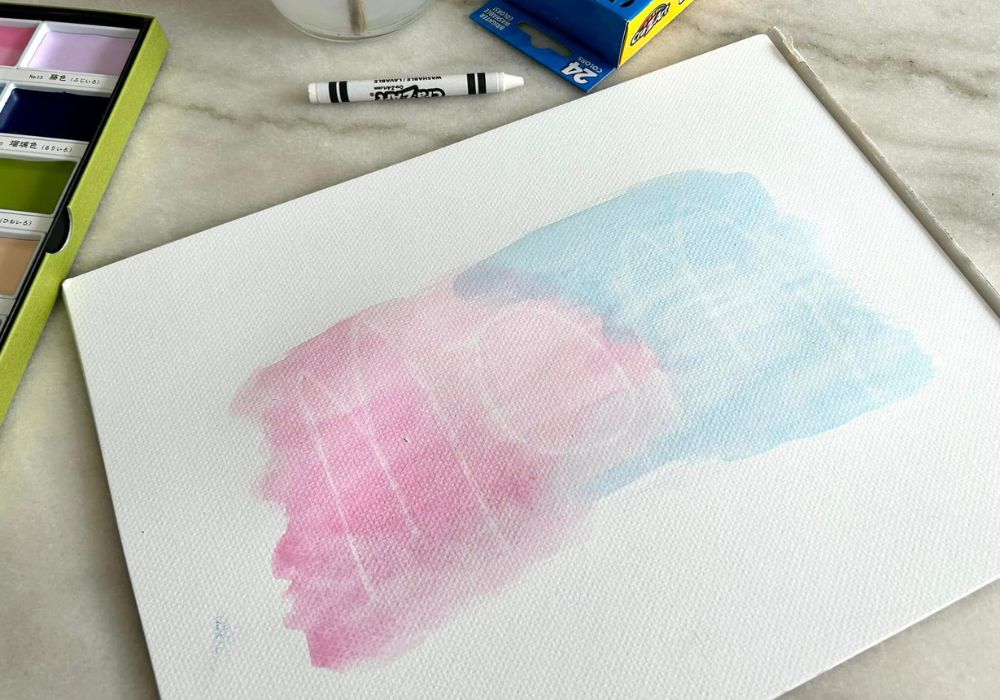
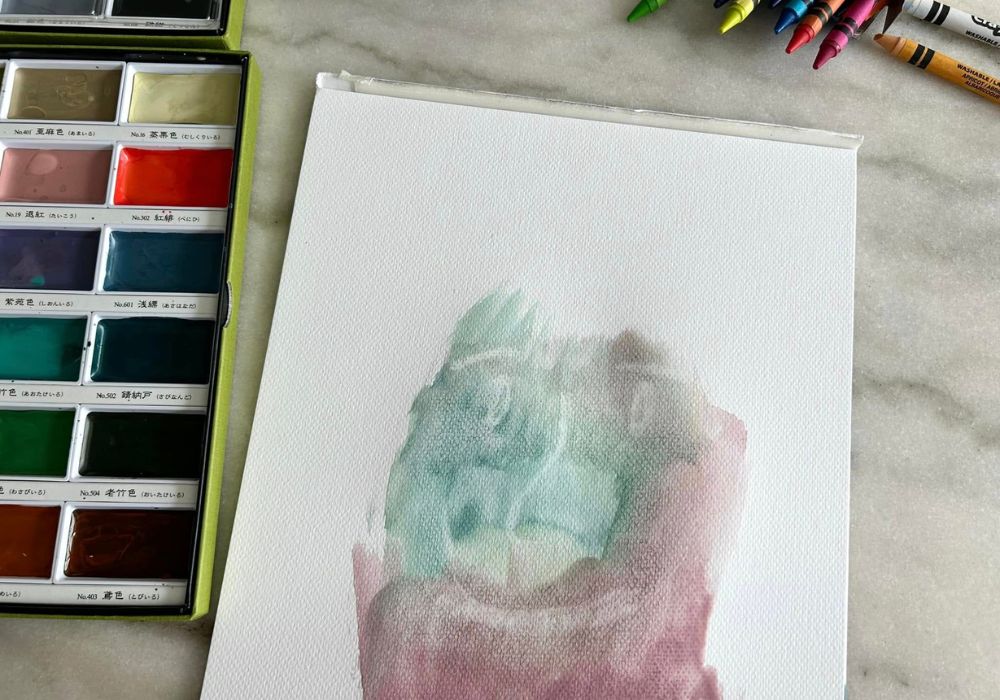
Hand Print Art
Trace around your child’s hand, or have them do it, with a white crayon – making sure to push hard, making thick lines.
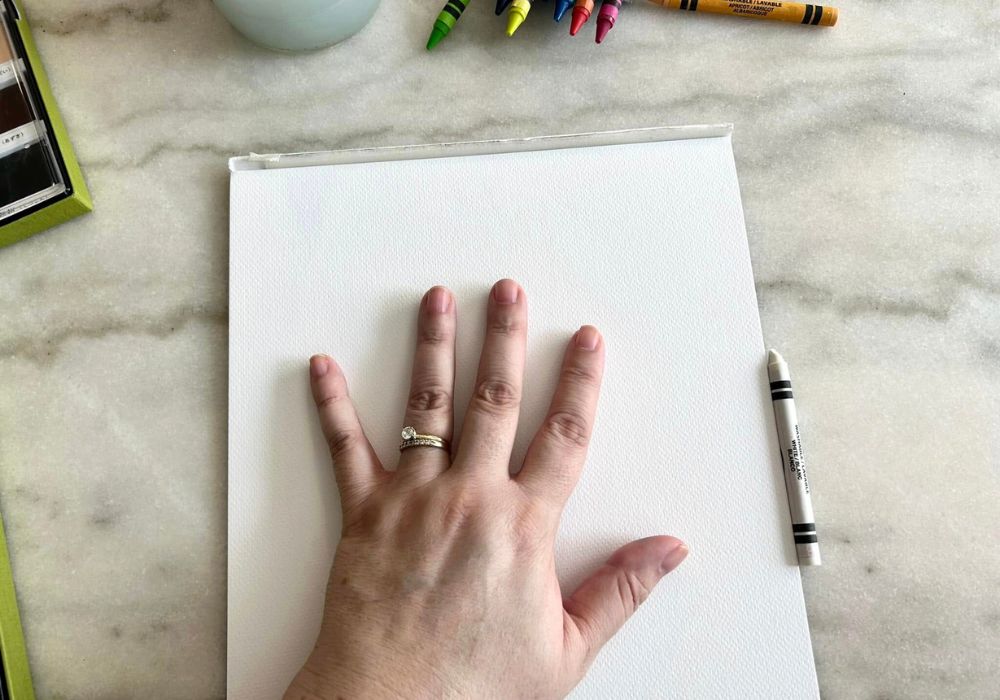
Use whatever colors of paint you’d like to bring the hand print to life! As you can see, it is a subtle effect, but you’ll see your hand print peaking out from behind the paint, and that is so much fun for little kids.
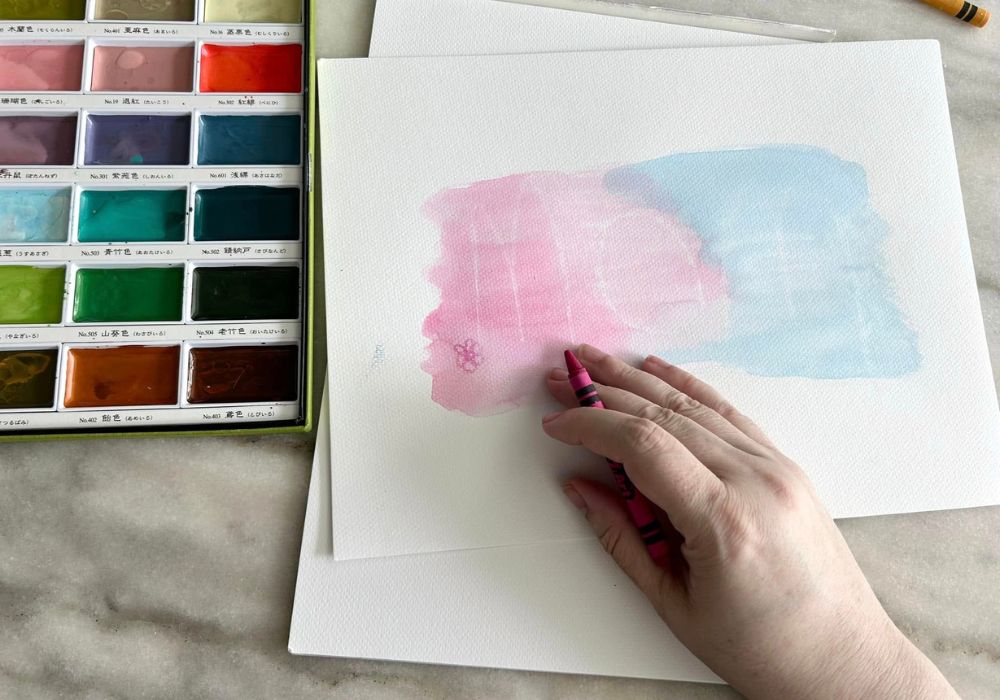
Resist Words
Using a white crayon, with firm pressure, spell a word on watercolor paper and then paint over it with watercolor paint or watered-down tempera paint. Kids love seeing the word poke out from the paint!
For more fun to this project, have your kids draw flowers and foliage around the words. Or just leave it as is!
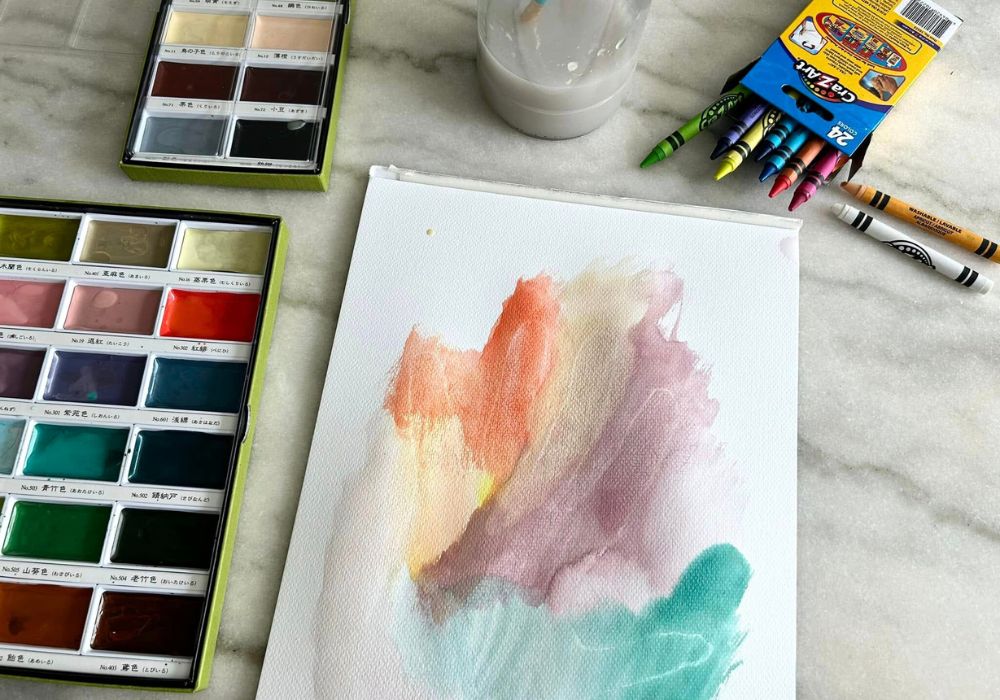
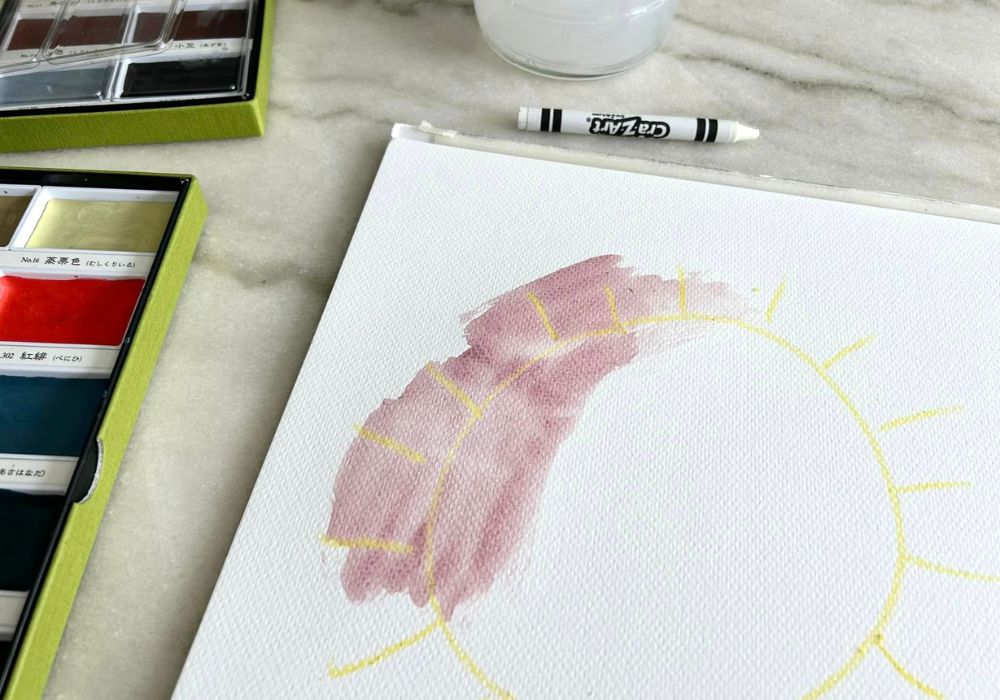
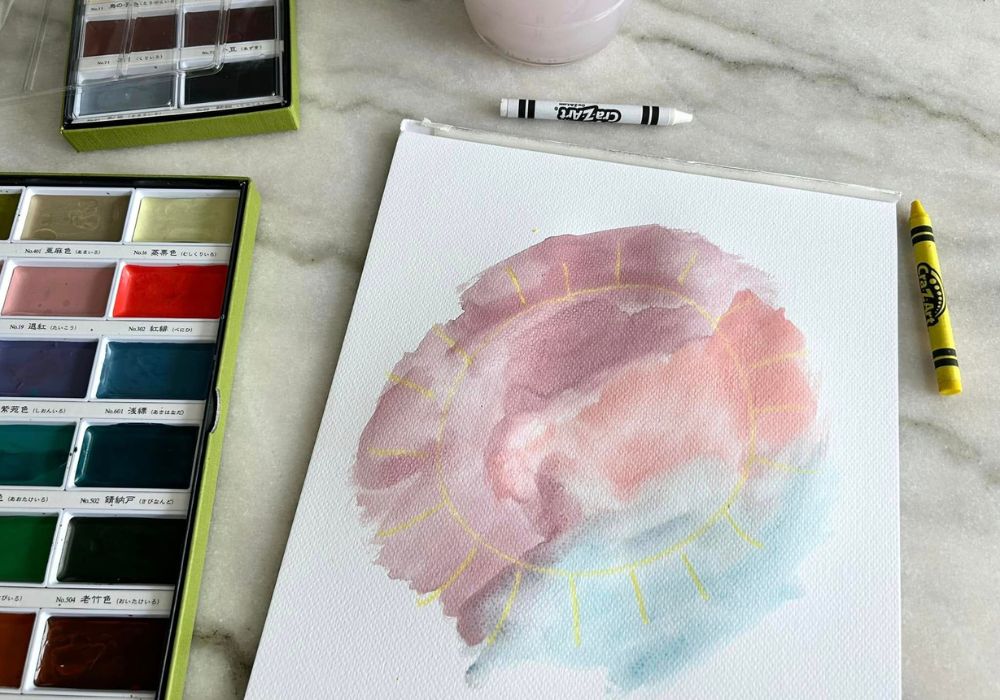
Sunshine Art
I used a yellow crayon to draw a circle and then lines off the circle, representing the sun. I then painted over it. This is an easier technique because you can see what you’re drawing on the paper, but still just as fun for little kids.
Faces Art
I used white crayon on watercolor paper with watercolor paint to bring the eyes, nose, and mouth to life.
Final Thoughts
Resist art is such a fun and magical way to get creative with your little one. It’s simple enough for kids to enjoy without frustration, and it creates those sweet “wow” moments when hidden designs or patterns are revealed.
If you’re using a white crayon with watercolors or peeling off masking tape to show crisp lines, it’s an easy, low-pressure activity that lets you both play and explore together.
I love that it builds creativity, patience, and a sense of discovery—all while giving us quality time to connect and make something special. Plus, there’s no right or wrong, just lots of fun and colorful surprises along the way.
Final Tips for Doing Resist Art with Kids:
- 🖍 Use white crayons or oil pastels for easy resist effects with watercolor paint.
- 🎨 Let your child draw first, then paint over it to reveal their secret design.
- 🖌 Painter’s tape or masking tape can create fun blocked shapes or stripes.
- ⏳ Give it time to dry before peeling anything off to keep edges clean.
- 🧼 Keep wipes or a damp cloth nearby for quick clean-up—things can get a little messy!
- 💬 Talk about colors and shapes as you go to sneak in a bit of learning.
- ❤️ Most of all, enjoy the process and let your child lead with their imagination!
Pin for later